UI

Navigate to “Integrations” on the left menu bar, and click on ”+”:
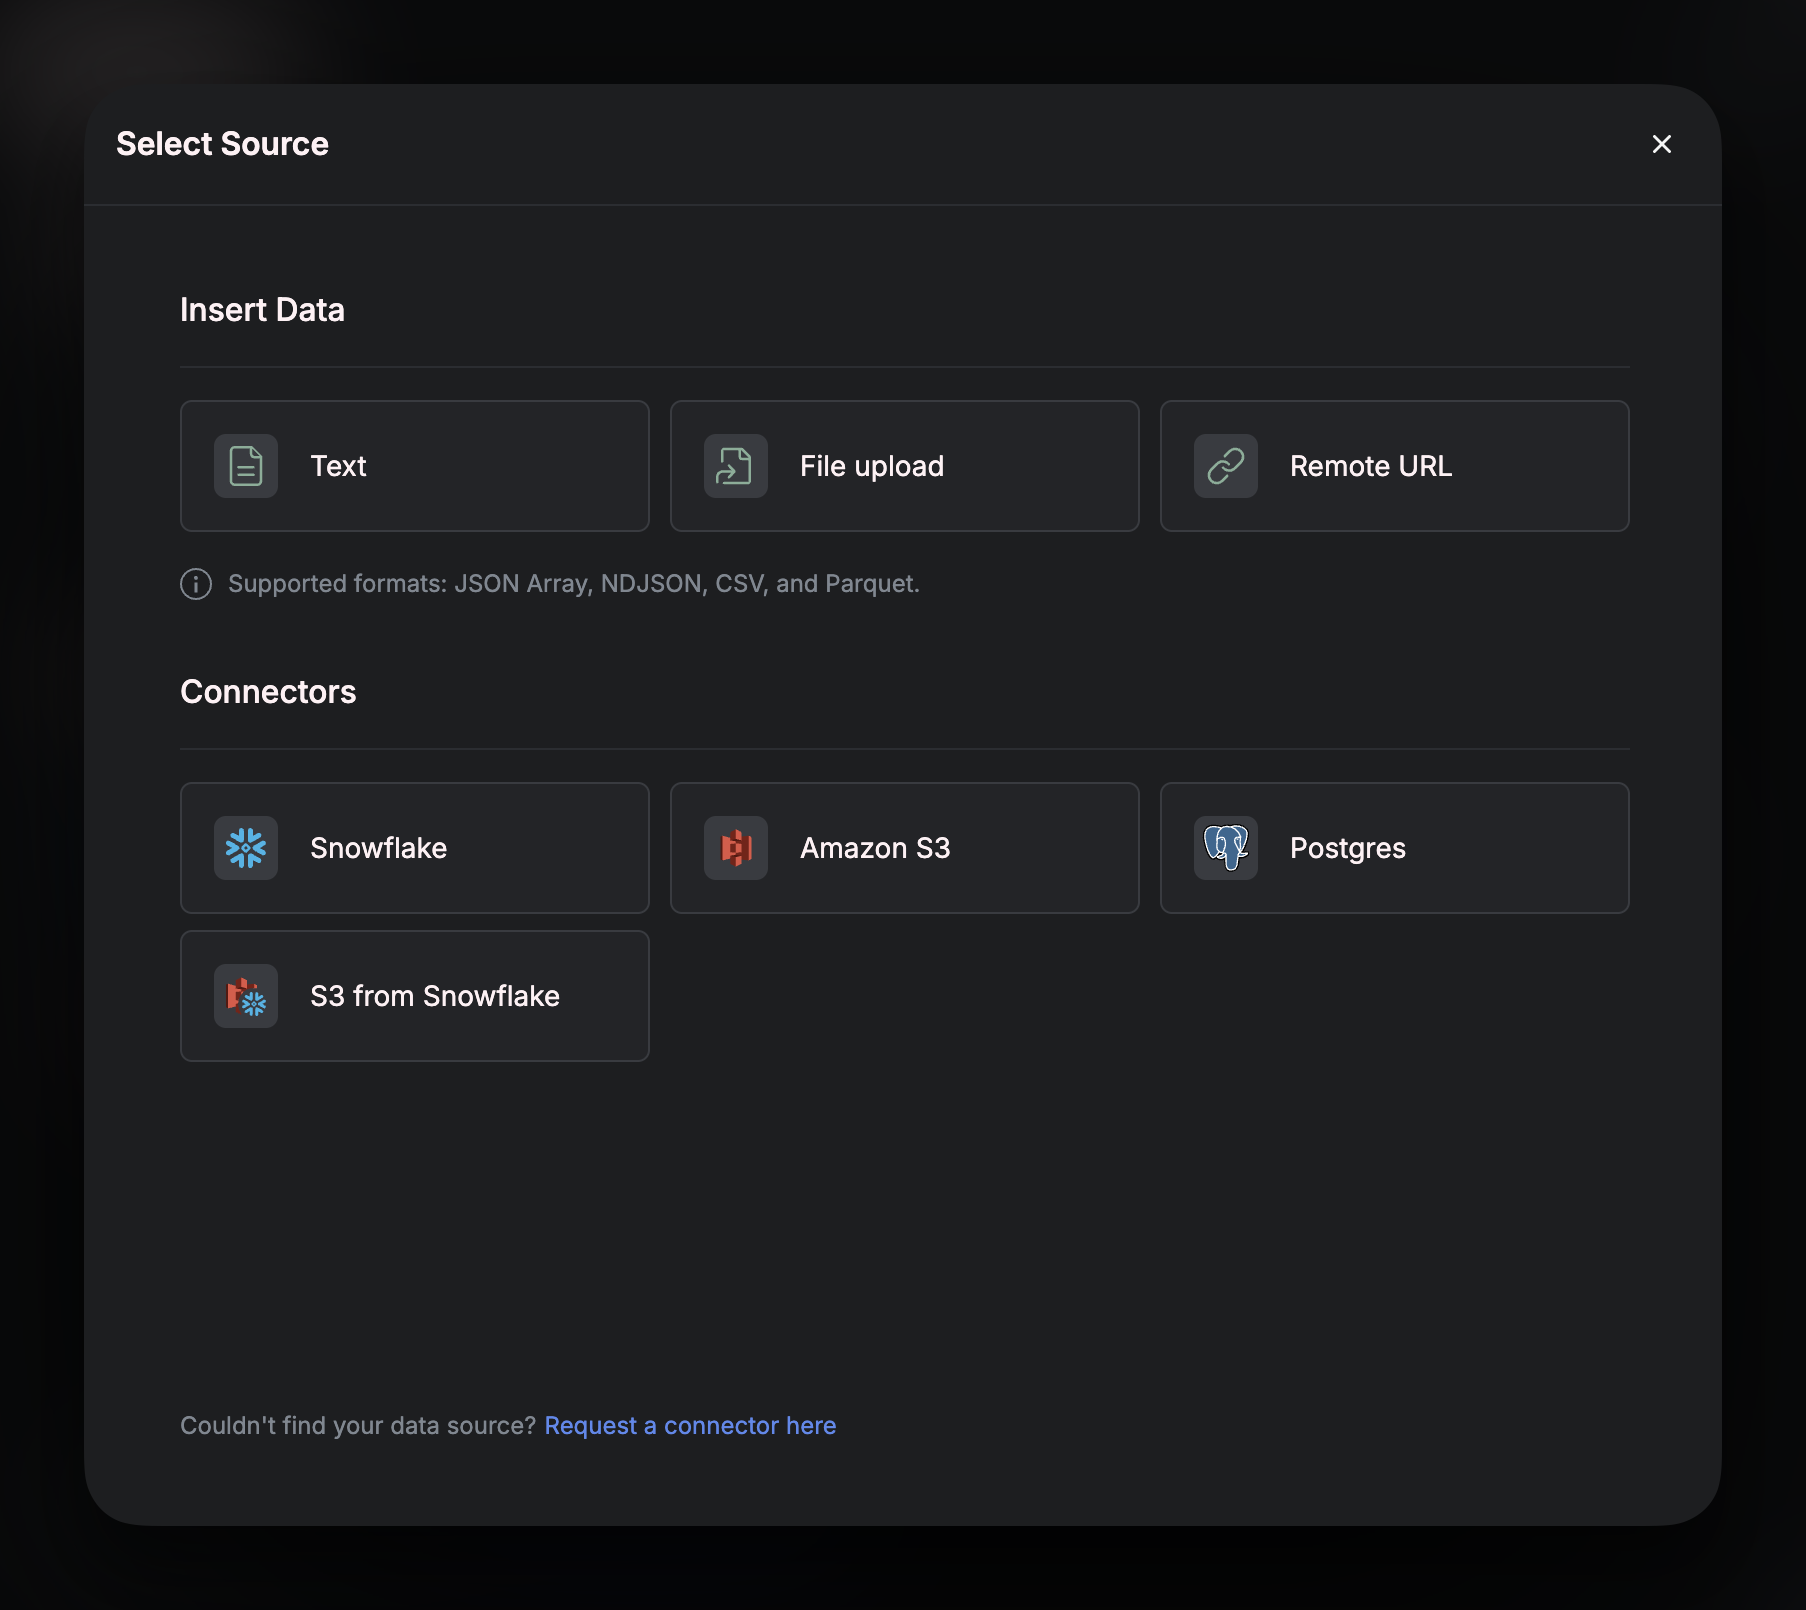
Upload your data via your preferred format, then press “Continue”.

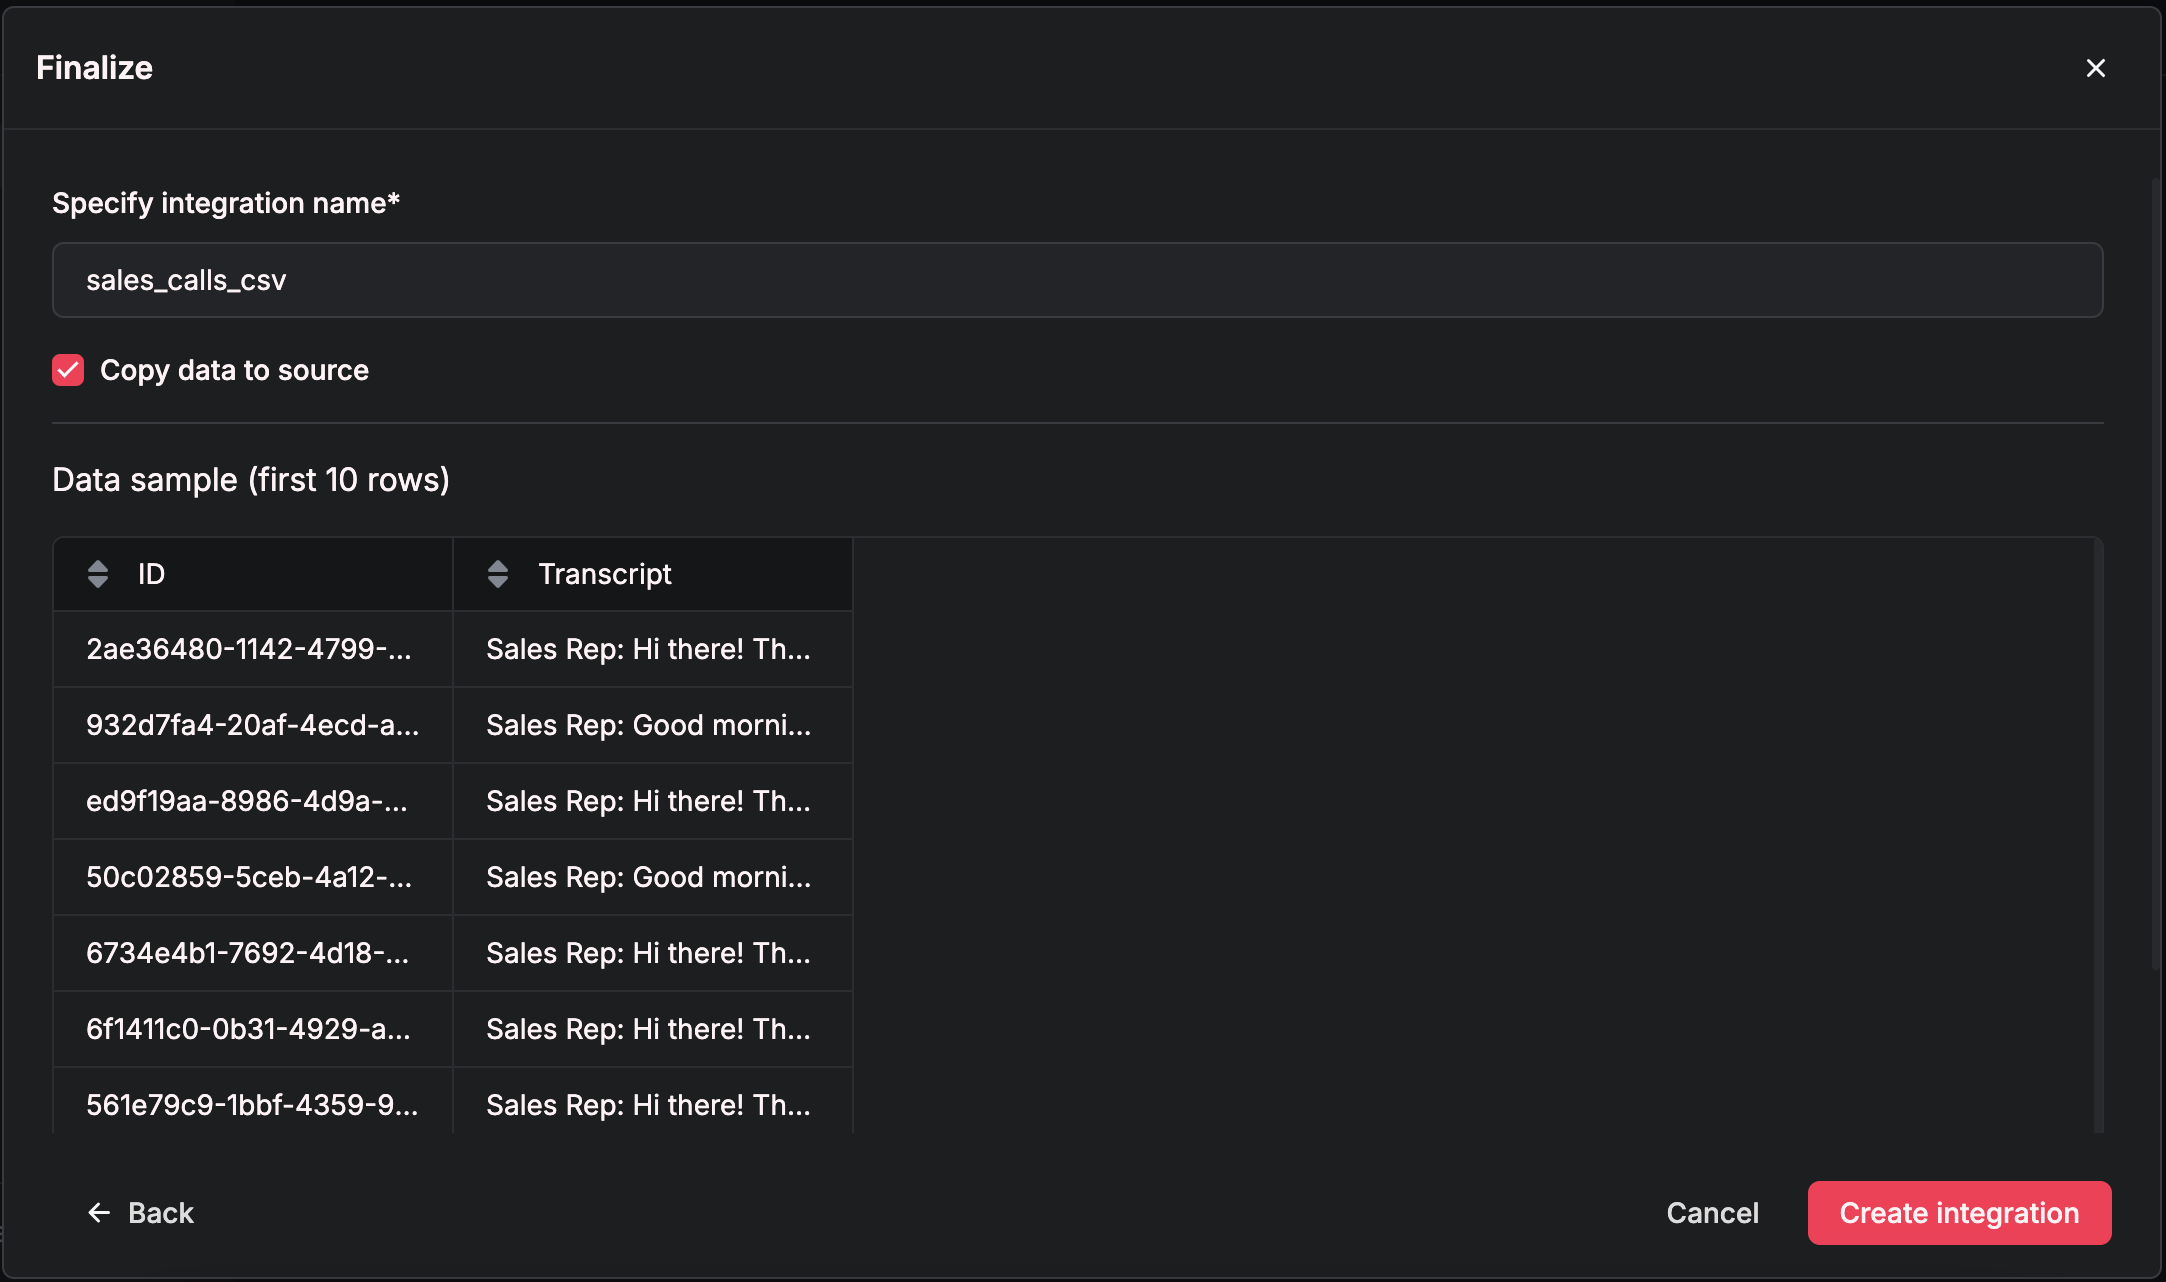
From here, you can verify that your data was ingested correctly and change the name if needed:

Once you are ready to ingest the rest of your data, press “Click Integration”.

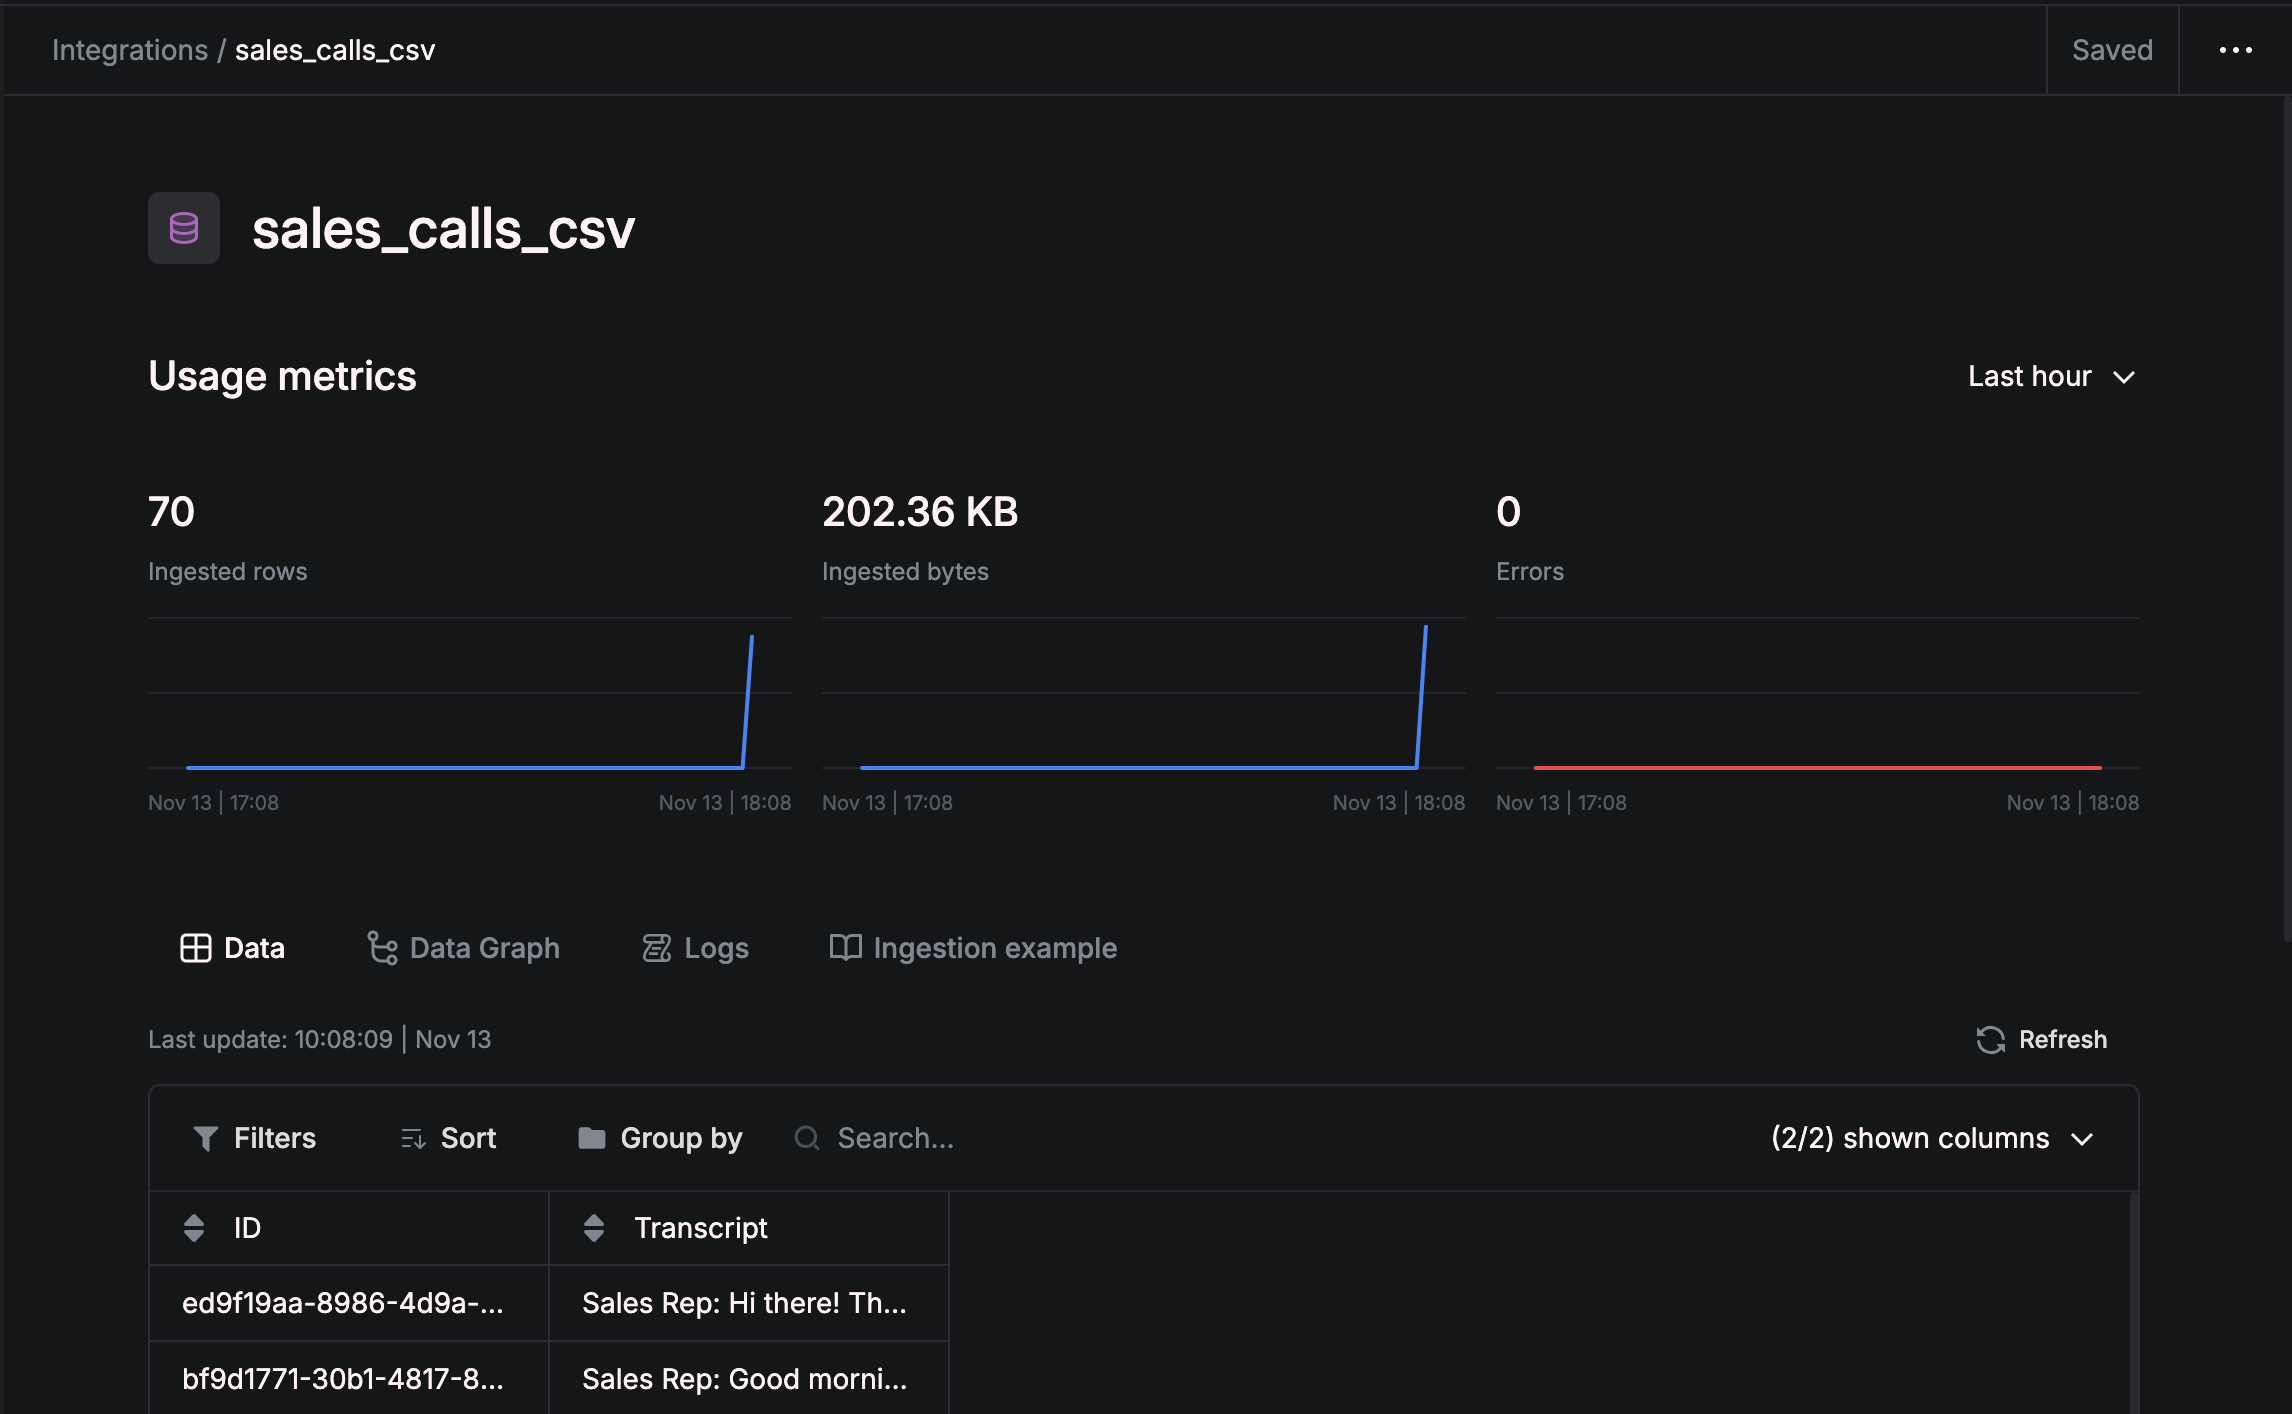
Within a few seconds, you should be able to see how many rows were ingested to verify that your data was processed correctly.
Code

You can also ingest data through an API call.

Fill in the <> with your specific entries.

JavaScript:

const data = [
  {<key>:<value type>}
];

fetch('https://api.airfold.co/v1/events/<source name>', {
  method: 'POST',
  headers: {
    Authorization: <use auth token here>,
    'Content-Type': 'application/json'
  },
  body: JSON.stringify(data)
});

Python:

import requests

data = [
  {<key>:<value type>}
]

requests.post(
  'https://api.airfold.co/v1/events/<source name>',
  headers={
    'Authorization': <use auth token here>,
    'Content-Type': 'application/json'
  },
  json=data
)

cUrl:

curl --request POST \
  --url https://api.airfold.co/v1/events/<source name> \
  --header <use auth token here> \
  --header 'Content-Type: application/json' \
  --data '[
  {<key>:<value type>}
]'

This is also accesible through the UI in your Sources page, under:

CLI

Define the schema for your source in a YAML file like so:

sales_calls.yaml
name: sales_calls
description: sales call transcripts
cols:
  ID: UUID
  Transcript: String
settings:
  engine: MergeTree()
  order_by: '`ID`'
  partition_by: tuple()

Then push using:

af push <your .yaml file name>

Replacing <your .yaml file name> with your actual file name.

For example, for pushing sales_calls.yaml:

af push sales_calls.yaml