Change Data Capture (CDC), powered by PostgreSQL’s Logical Replication, to track row-level inserts and updates as they happen. This means that you don’t need to configure a refresh schedule for your source. As data is inserted or updated in Postgres, it’s automatically ingested by Airfold on the fly.
Before you can use the Airfold Postgres connector, you’ll need to complete a few setup steps to ensure your server is configured for Logical Replication. This guide walks through the prerequisites steps on the Postgres server side as well as using the connector to sync data.
Server Side Prerequisites
WAL Settings
Before setting up the connector in Airfold, we first need to correctly configure thewal_level in your postgres server. In order for CDC to function, the wal_level (Write-Ahead Logging) setting on your Postgres server must be set to logical.
To check your current setting, run this query:
minimal, replica, or logical.
Most servers default to replica, but many modern managed Postgres providers (like Neon or Supabase) default to logical.
If you need to change this setting, you’ll typically do so in the postgresql.conf file, or via your provider’s UI, depending on how your Postgres instance is hosted.
Once the wal_level setting has been changed, the server will need to be restarted. This can be problematic for production databases, so we recommend checking the current setting before making any changes. If your database is already set to logical, no restart is needed and you can proceed safely. Otherwise, consider scheduling the restart during a planned maintenance window to minimize disruption.
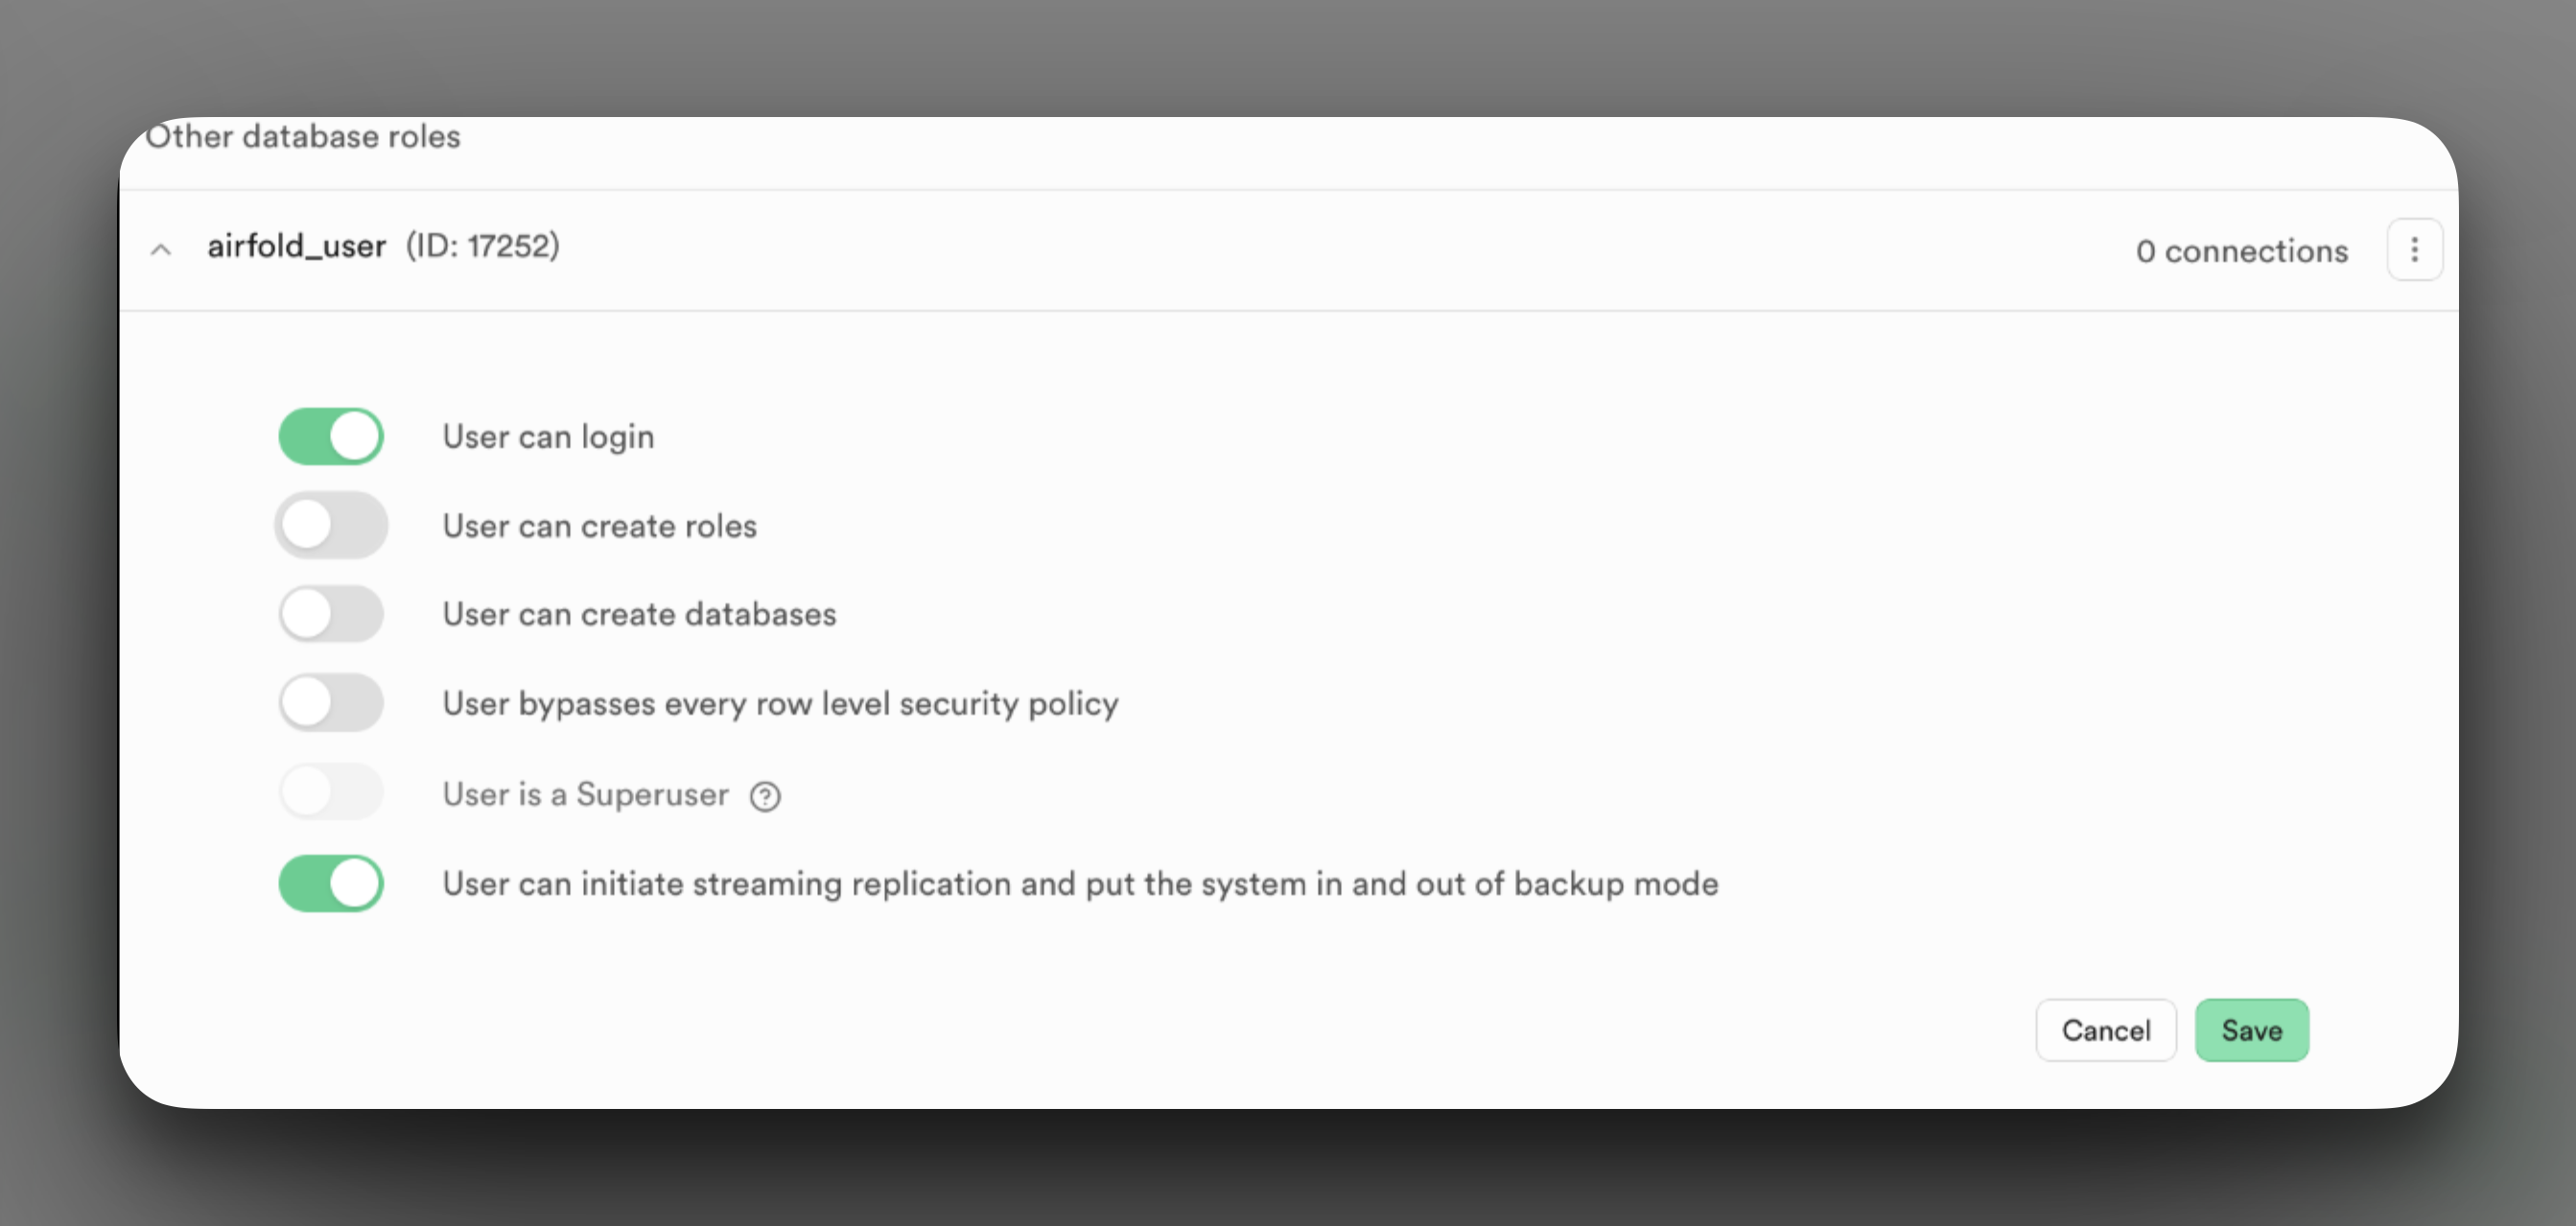
Create a Role and Assign Permissions
Airfold requires a dedicatedrole to connect to your server. Run the following SQL to get set up:
Next, grant the role permission to use Logical Replication:
 Finally, grant the role access to the schema and tables you want Airfold to sync:
Create a Publication and a Slot
Next, we need to create apublication and a replication slot.
The publication is a Postgres object that defines which tables to stream changes from. You can choose to publish specific tables or all tables in the database.
The replication slot is a mechanism that ensures Postgres retains the change data (WAL logs) until Airfold has consumed it. This guarantees that no changes are lost, even if there’s a temporary interruption in the connection.
To create the Publication, run this SQL:
<publication_name> is the name you want to give your new publication, and it should be followed by a comma-separated list of the tables you want to include in the sync.
Finally we can create the Slot:
Gather Your Connection Details
If you have completed all of the steps so far, you are almost ready to connect to to Airfold! The last steps are to collect some important values from your server. You will need:Host- The hostname of your Postgres server (e.g.,db.mycompany.com)Port- The port your server is listening on (default is5432)User- The name of the role created in previous stepsPassword- Of the above roleDatabase- The name of the database you are connecting toPublication- The name of the publication created in previous stepsSlot- The name of the Slot created in previous steps
Create the airfold Postgres Connector
Create Source
Next let’s create the source in Airfold. In your Airfold workspace, findSources on the left side tool bar and Click the + button.
In the popup window, click on Postgres

Connection Details
In the next window, you’ll be prompted to provide connection details for your Postgres database. Fill in the fields and click Test Connection to validate if you have successfully connected to your postgres server.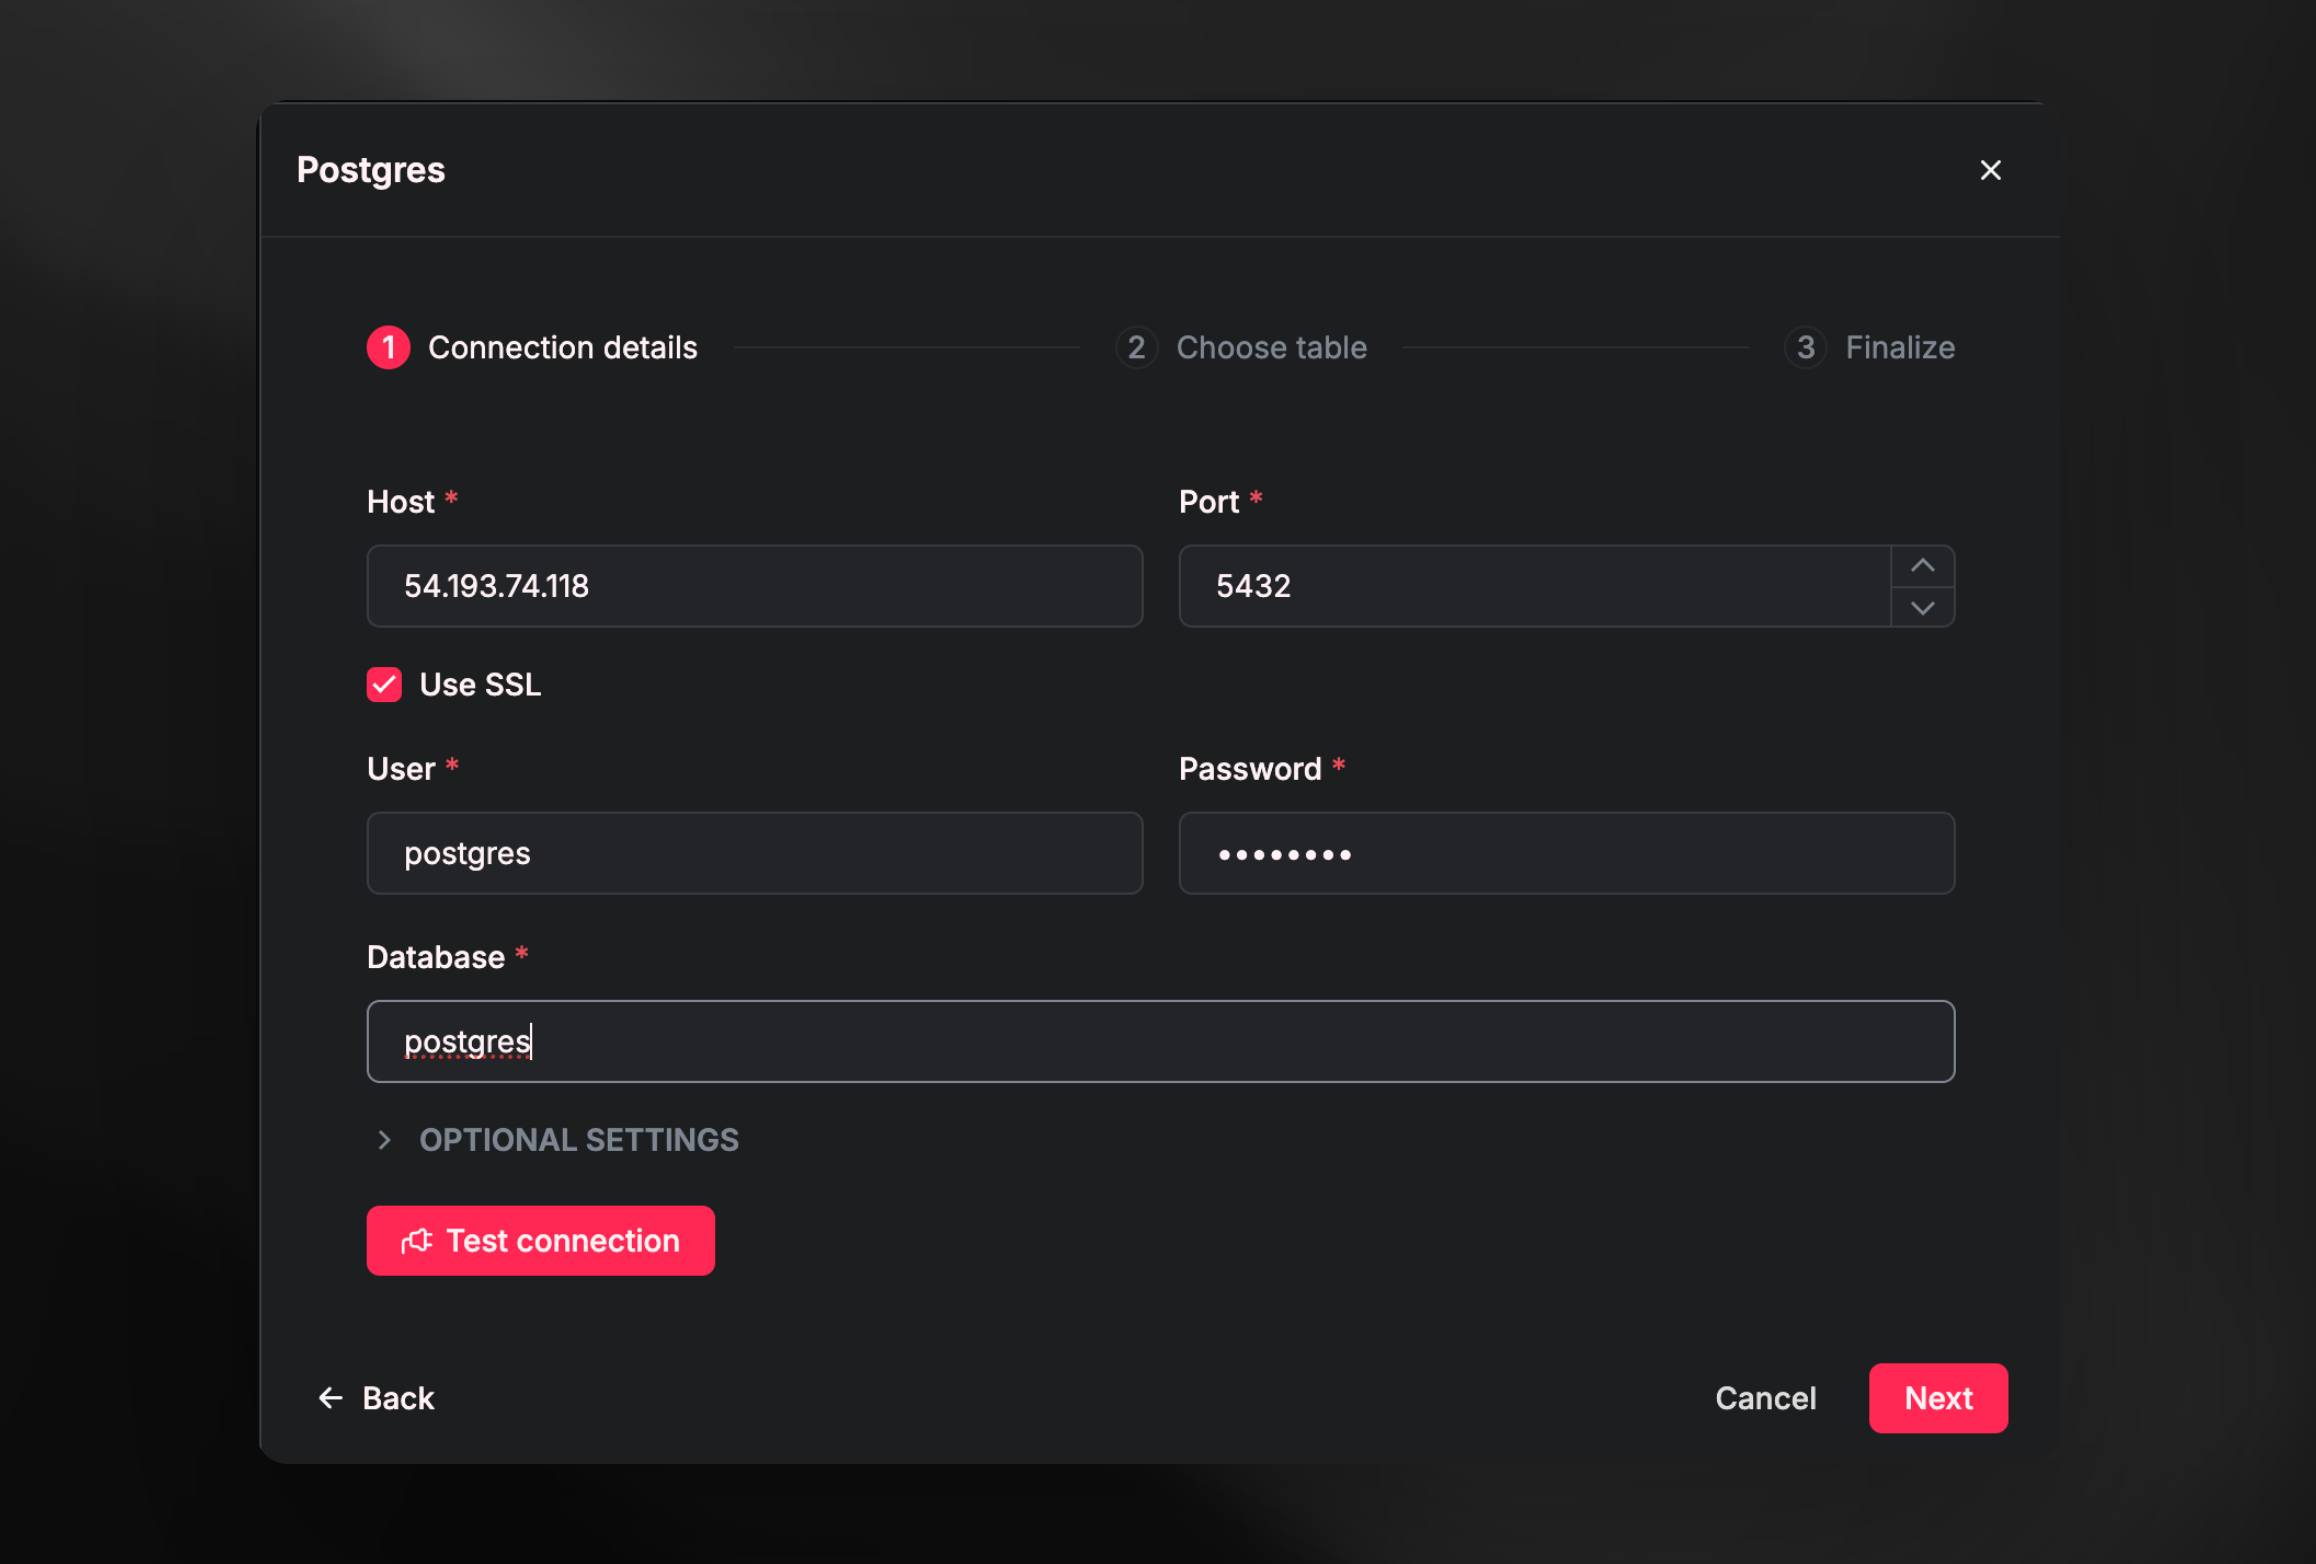
Use SSL (optional): This setting enables SSL encryption for the connection between Airfold and your PostgreSQL server. When SSL is enabled, all data transmitted between Airfold and the server is encrypted, protecting sensitive information, protecting all of your data. SSL is strongly recommended for production environments!
To use the CDC feature, your Postgres server must have a Publication and a Slot configured. These allow Airfold to ingest new and updated rows automatically.
If you haven’t already done so, follow the steps in the Prerequisites section and gather the necessary values from that setup.
Select table
Once connected, you’ll see a list of available tables in the database. Select the desired table and click Next.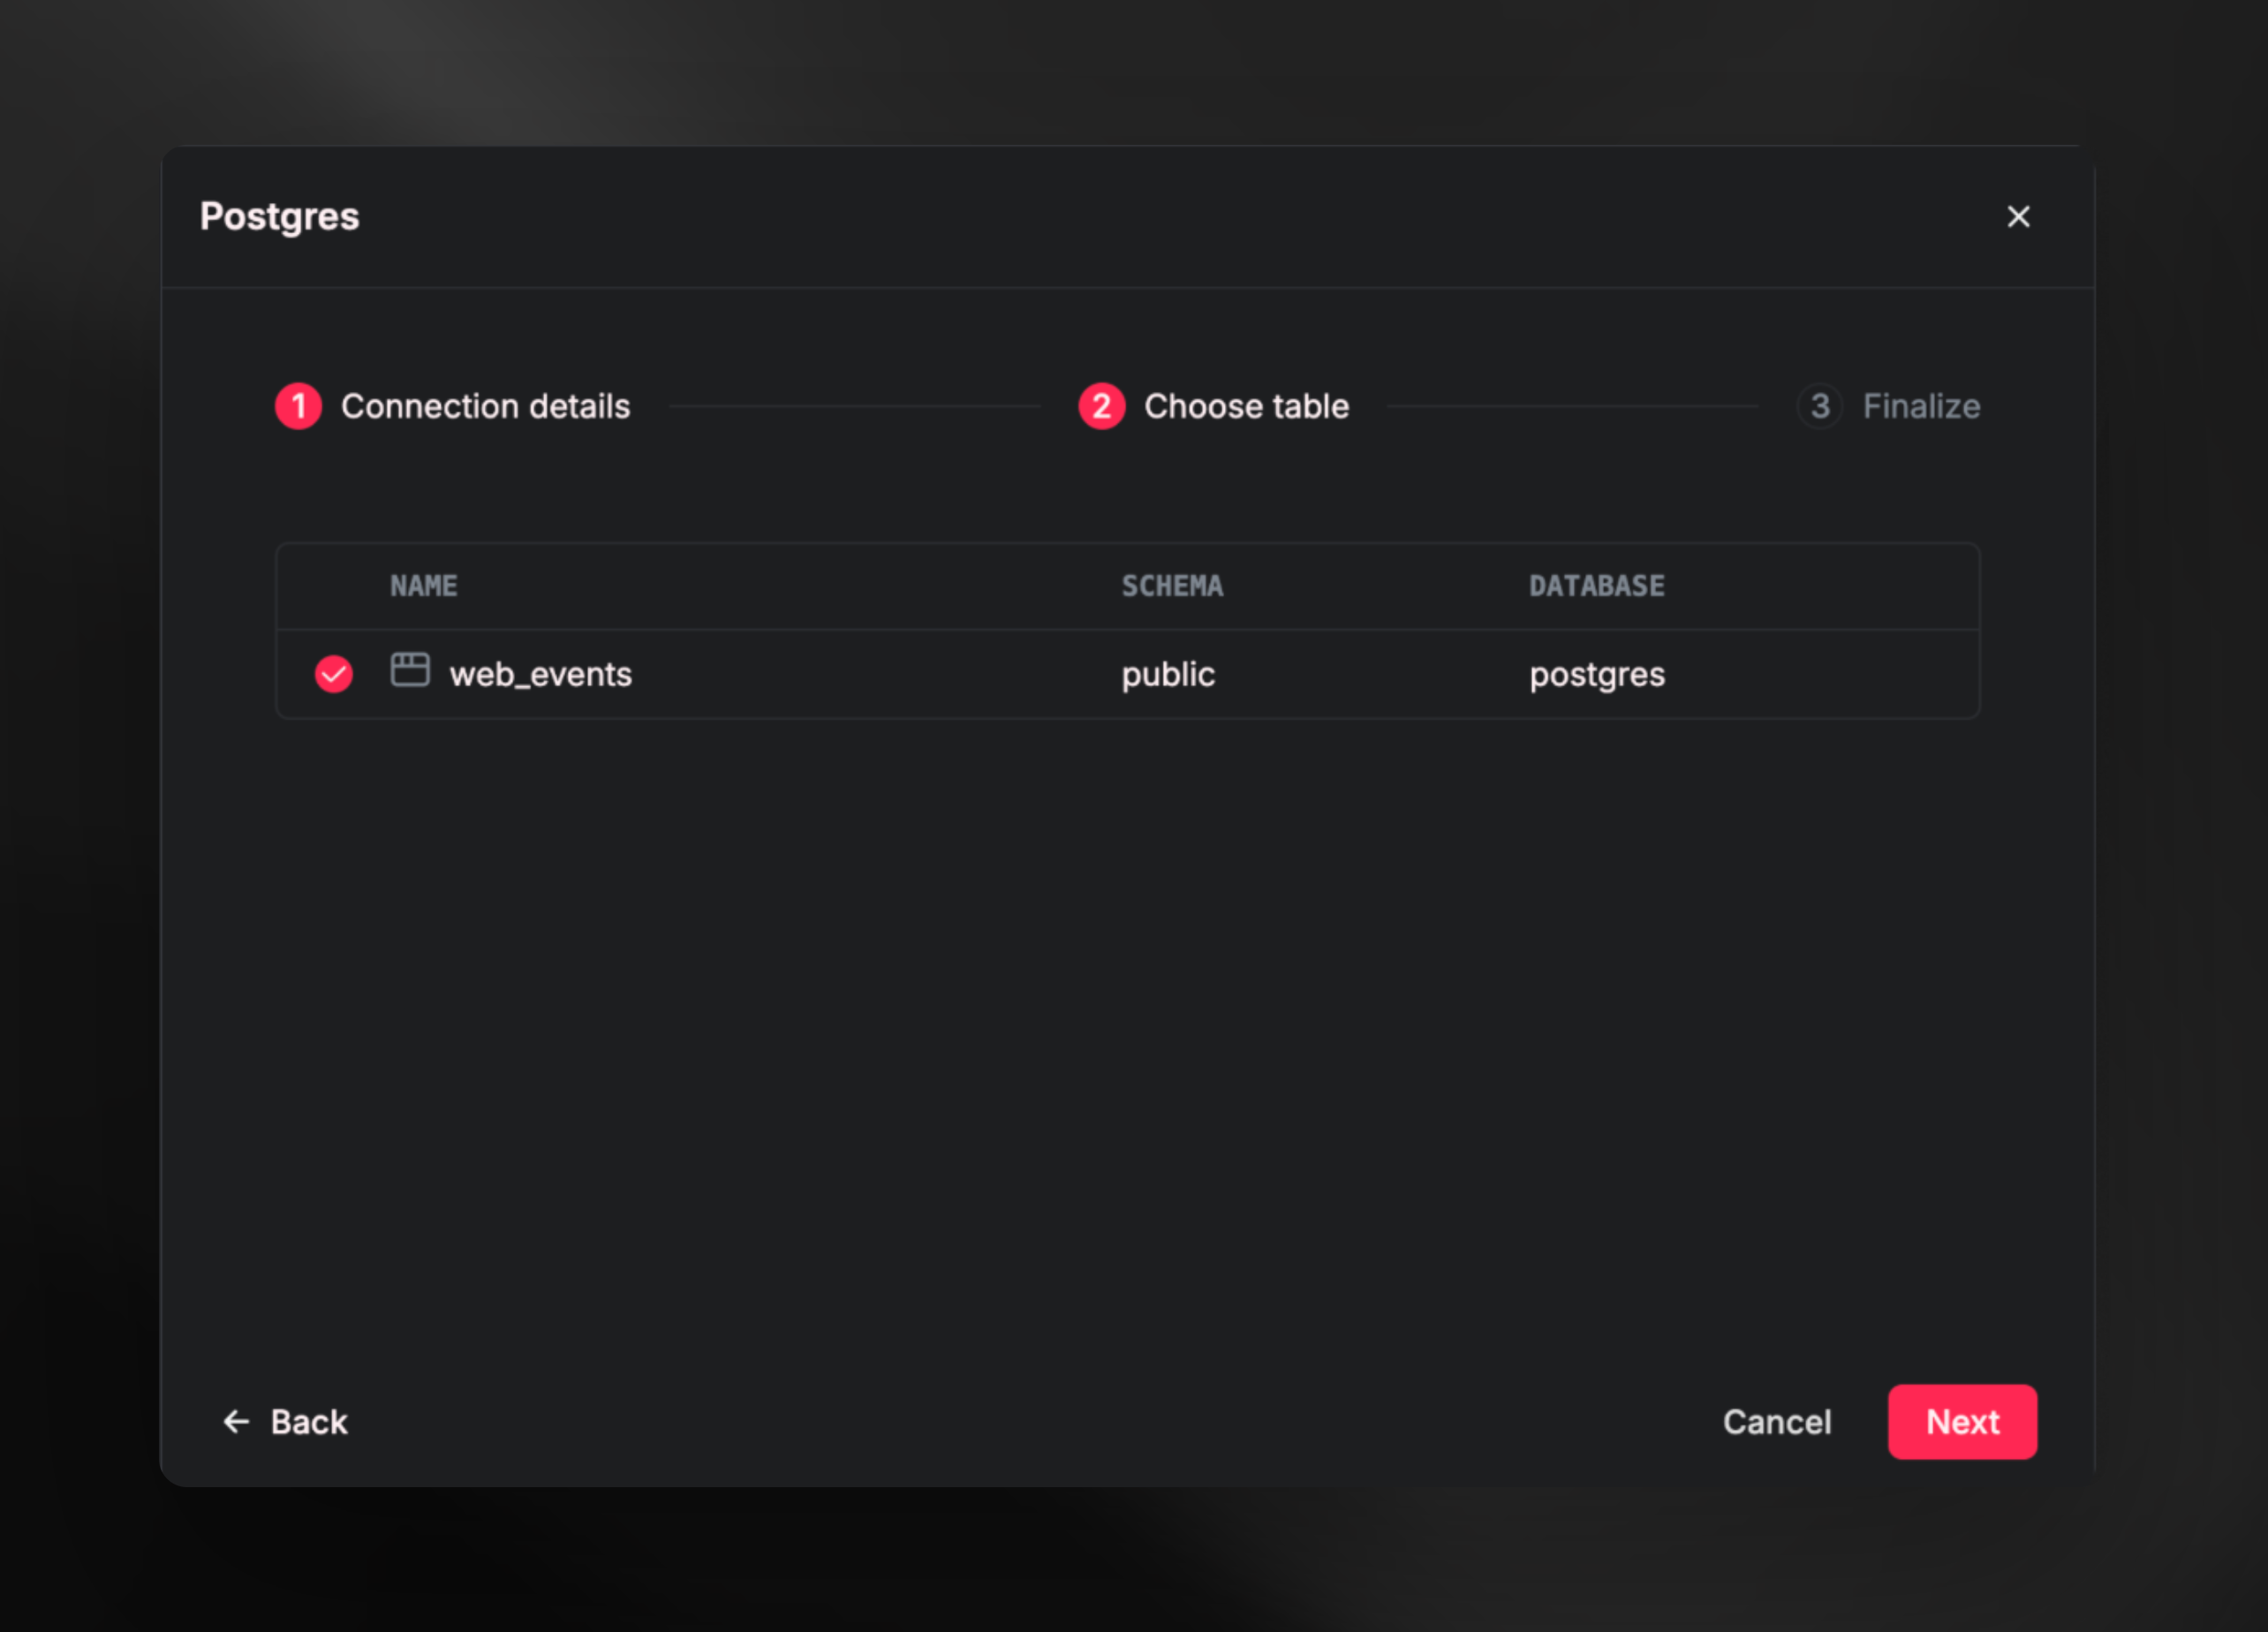
Finalize
Review the schema that Airfold has generated for the selected table. You can make changes if needed. Click Create to connect Airfold to the Postgres database. As new data is ingested into Postgres, Airfold will automatically receive the updates.
💡 Tip:After finalizing your schema and settings, click
It’s worth spending some time on this section as both the schema and table settings cannot be changed once the table is created. Choosing optimal data types and table settings (like theprimary key,order by, andengine) are crucial steps in Airfold for ensuring that your queries run with low latency. If you wish to change data types or table settings, you will have to drop the source, recreate the table with the new settings, and ingest your data again. This could be a potentially costly backfill, especially if you have a large dataset, so this is a great opportunity to slow down and get these settings right the first time! Check out the page on optimizing your schema
Create. Your new source should now be available and data ingestion will begin momentarily!