Create Source
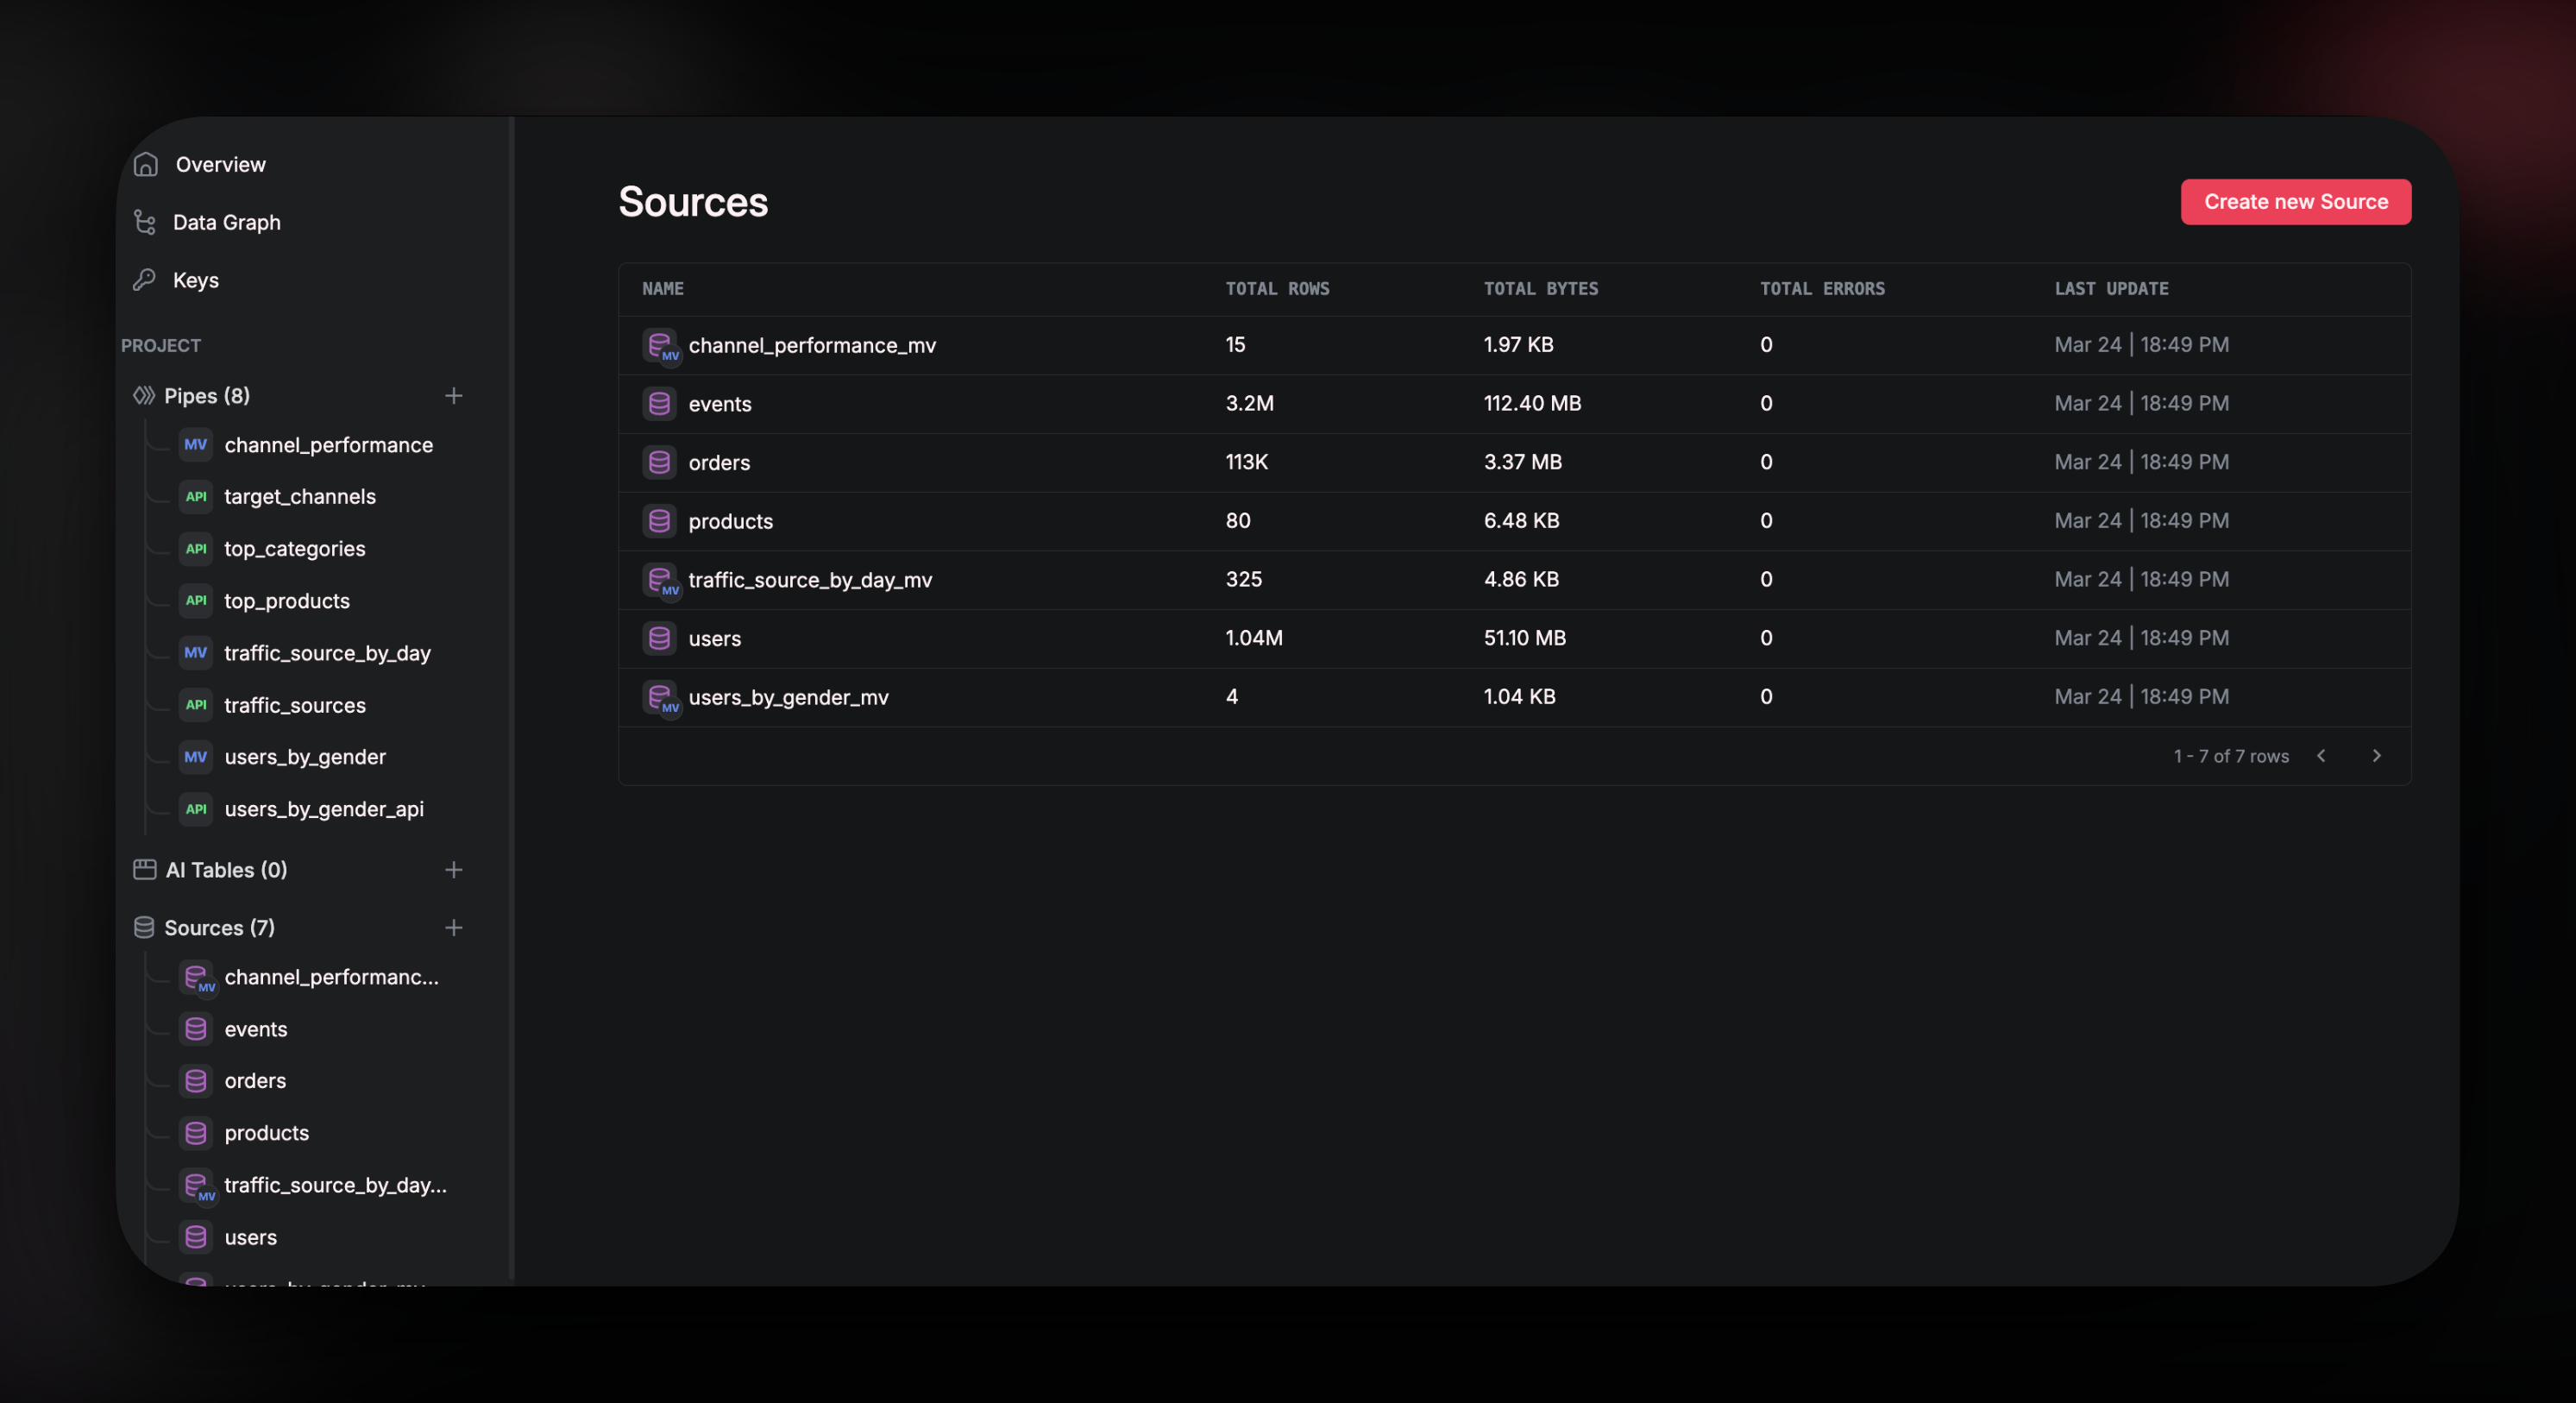
Navigate toSources and click on Create new Source. Alternatively, click on the + next to Sources in the left-hand tool bar.
 In the pop-up window, click on
 Amazon S3

Bucket
This will take you to the first page of the setup wizard. Here you can either select a previously connected bucket or connect a new one. If this is your first time connecting Airfold to S3, you will need to select “Add New” and then enter the name of the S3bucket that you need to sync data from. Enter the name of the bucket exactly how it appears on your AWS account.

Policy and Role
In this section of the setup wizard, we will need to create arole and a policy in your AWS account for Airfold to use and access your bucket. To complete this step, you may need administrative privileges on your AWS account.
A
role is a user of your AWS account.A
policy is like a set of rules and permissions that can be assigned onto a role.The following steps will create a role for Airfold within your AWS account and will assign a policy to that new role with read permissions on the S3 bucket that you have specified.
First, let’s create the policy. Follow the instructions on the setup wizard to navigate to the correct section on the IAM page of your AWS account.
 Copy the entire JSON from the setup wizard and then paste it into the policy editor. It should look something like this:
 Click next and then on the following page, give the policy a name. Remember what you have called your new policy as you will need to assign it to the new role in the next step.
Once you have successfully created the policy, click on the
Mark as Created checkbox.
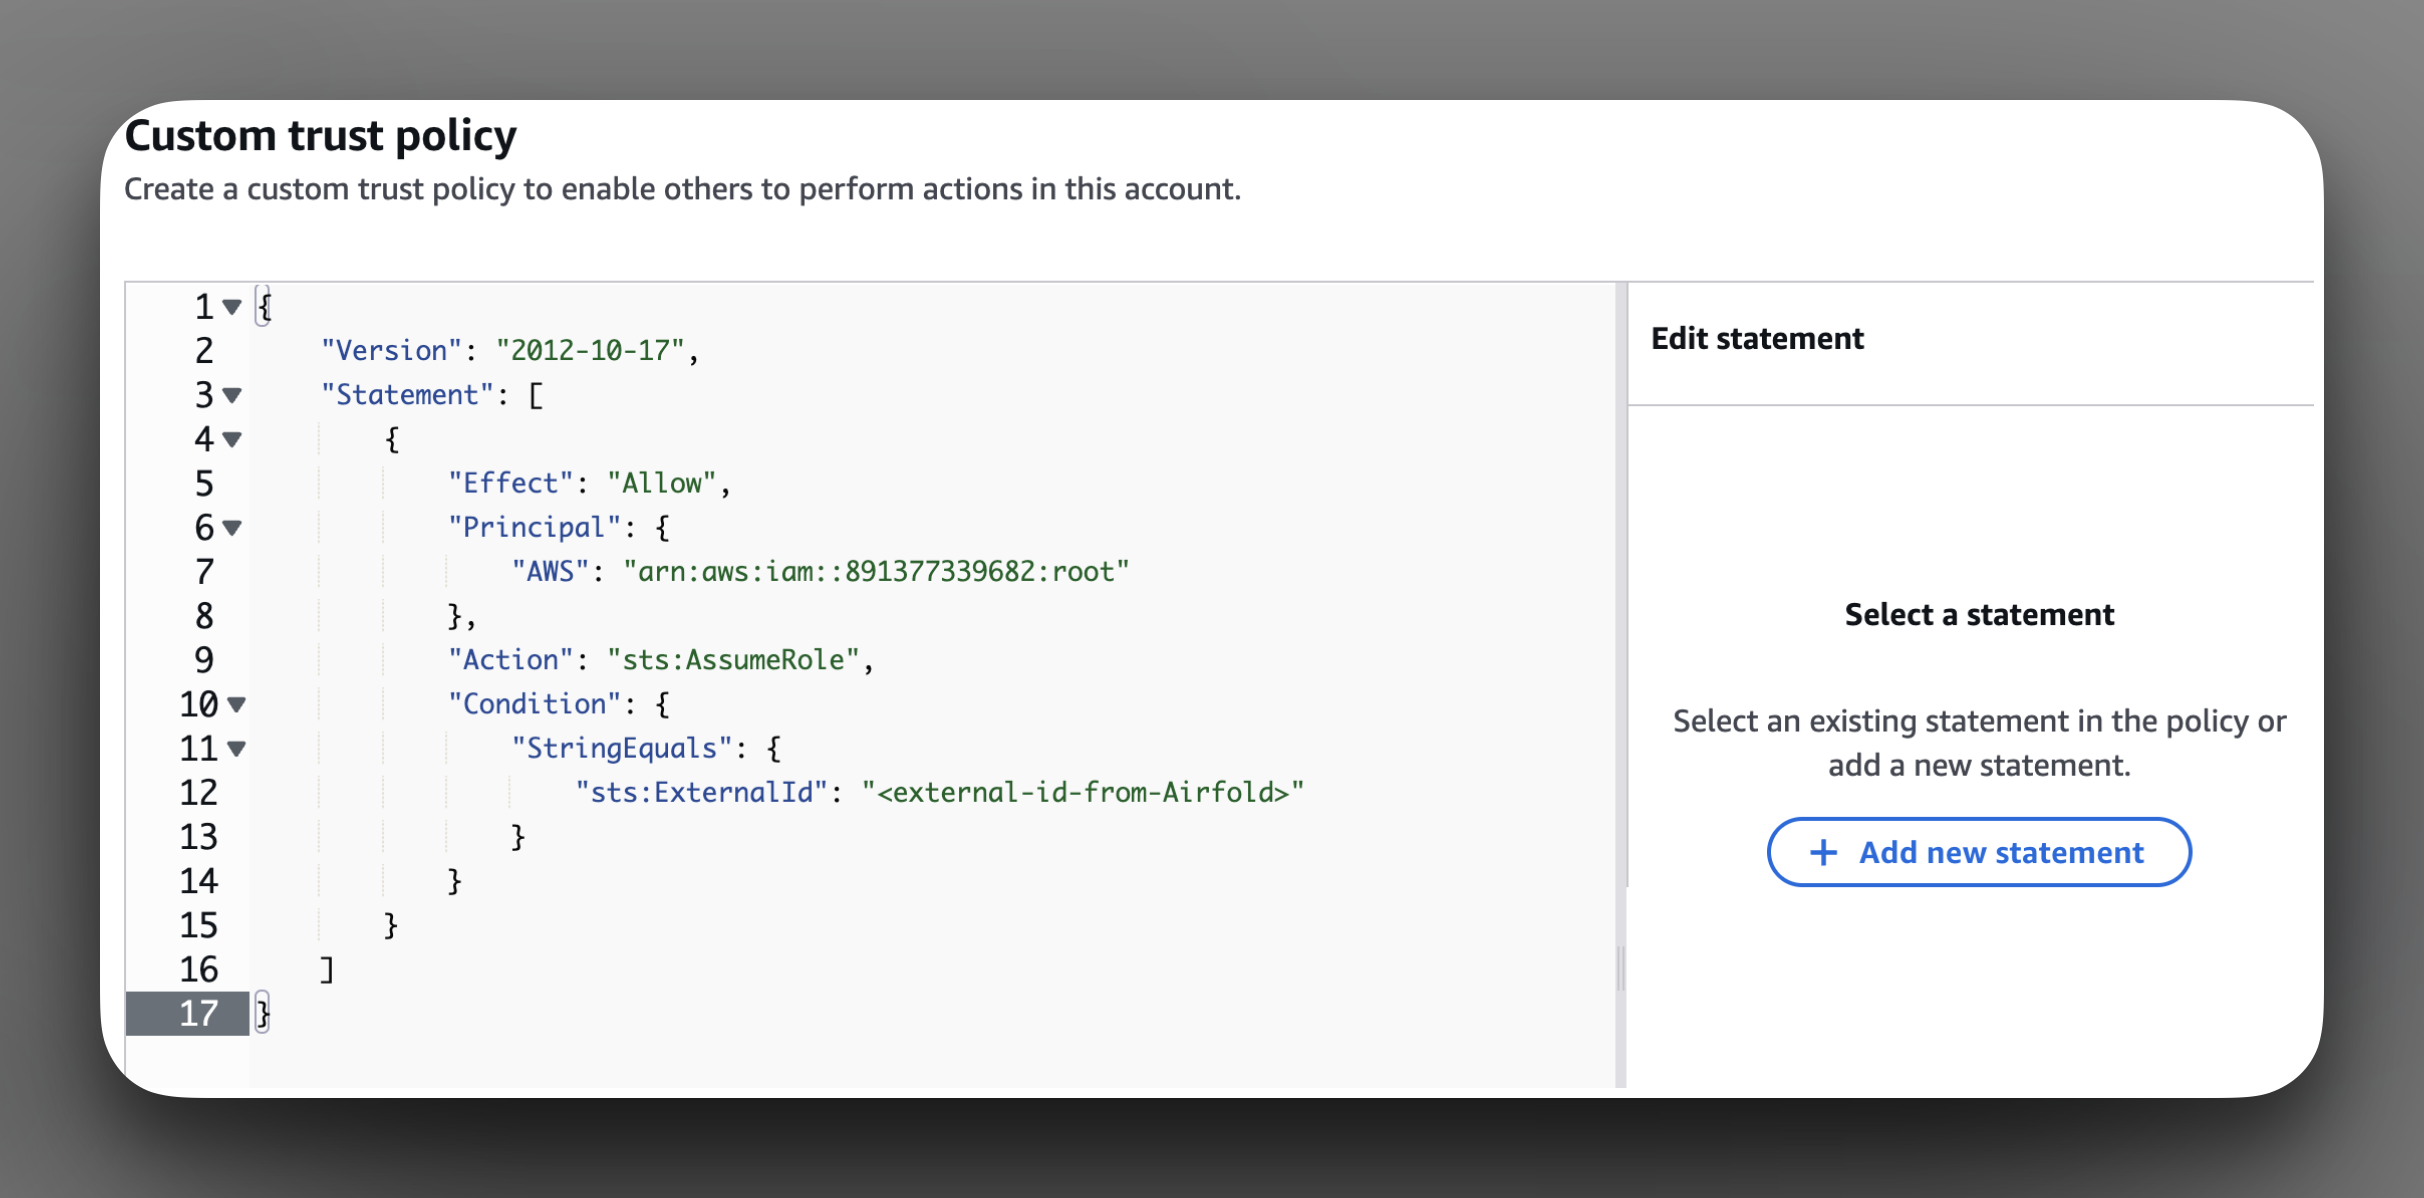
Next let’s create the role. Again, follow the steps of the setup wizard to navigate to the Roles section of the IAM page. Paste the full JSON into the policy editor, it should look something like this:
 Assign the previously created policy to this new role and then click “Create role”.
Once you have completed these steps, click on the “Mark as created” checkbox and then move onto the next step.
Role ARN and Path
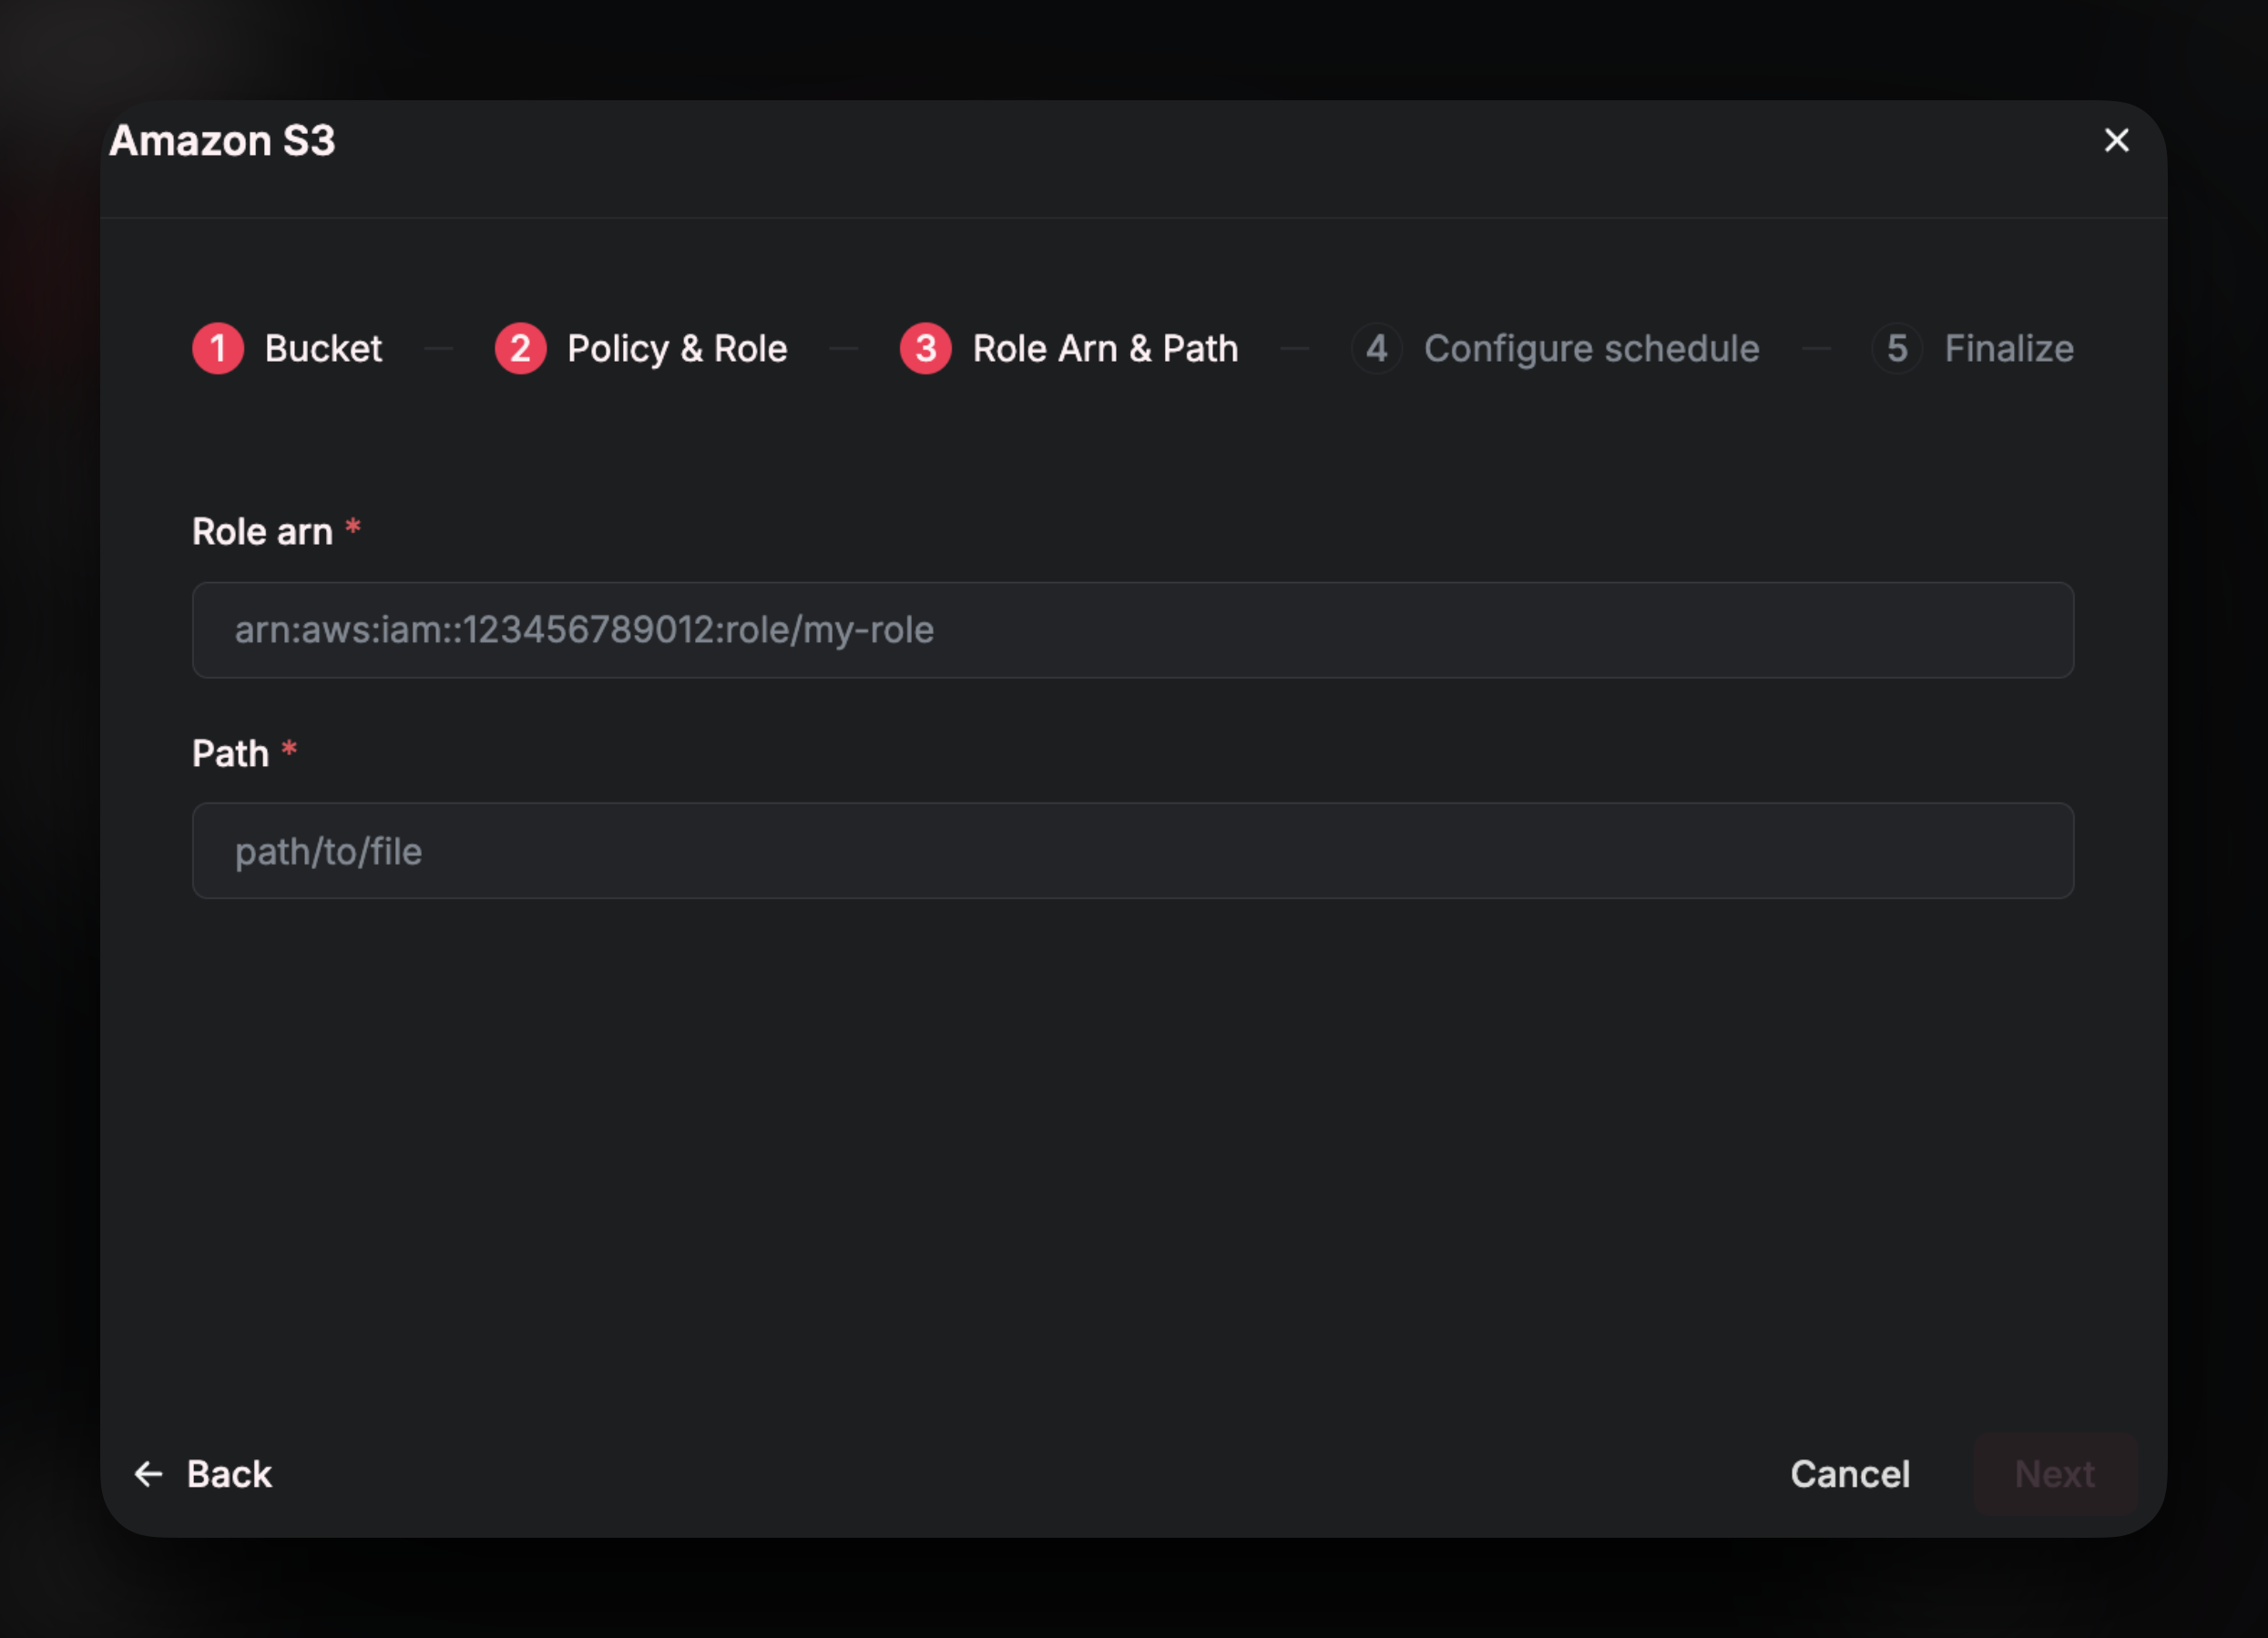
For this section you will need to retrieve two pieces of information from your AWS account: TheRole ARN (Amazon Resource Name) of the role that you just created, and the path to the file(s) that you wish to sync into Airfold.
 First, lets find the
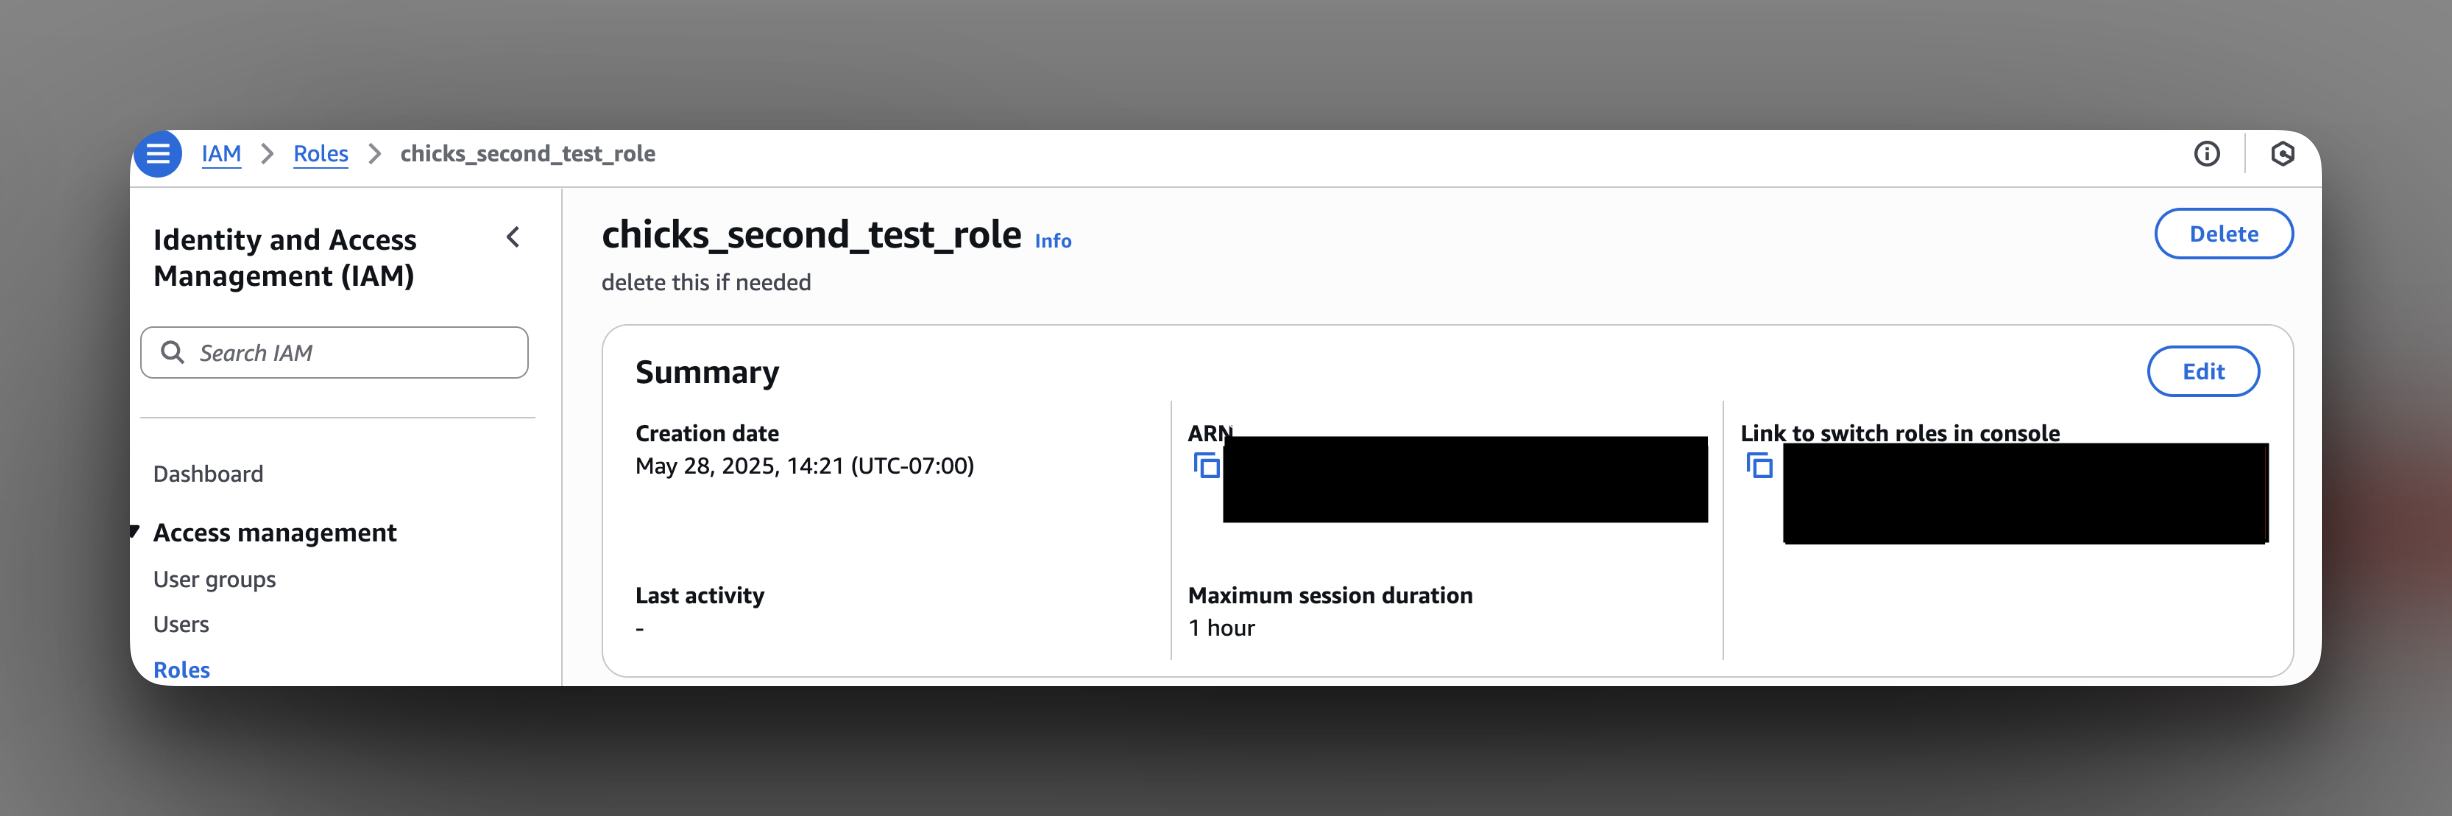
 ARN. Navigate to the roles section of the IAM page in AWS and search for the role that you created in the previous step. It should look something like the following:
 Copy the ARN and paste into the setup wizard.
Next lets get the
path. This path defines the directory that Airfold will scan for files during each scheduled sync. All files matching this path will be ingested into the same Airfold source, provided they share a consistent schema. Some examples that you could use:
Configure Schedule
In this section of the setup wizard, you will specify the frequency in which Airfold will pull data from S3 and theStrategy for how the data will populate in your Source.
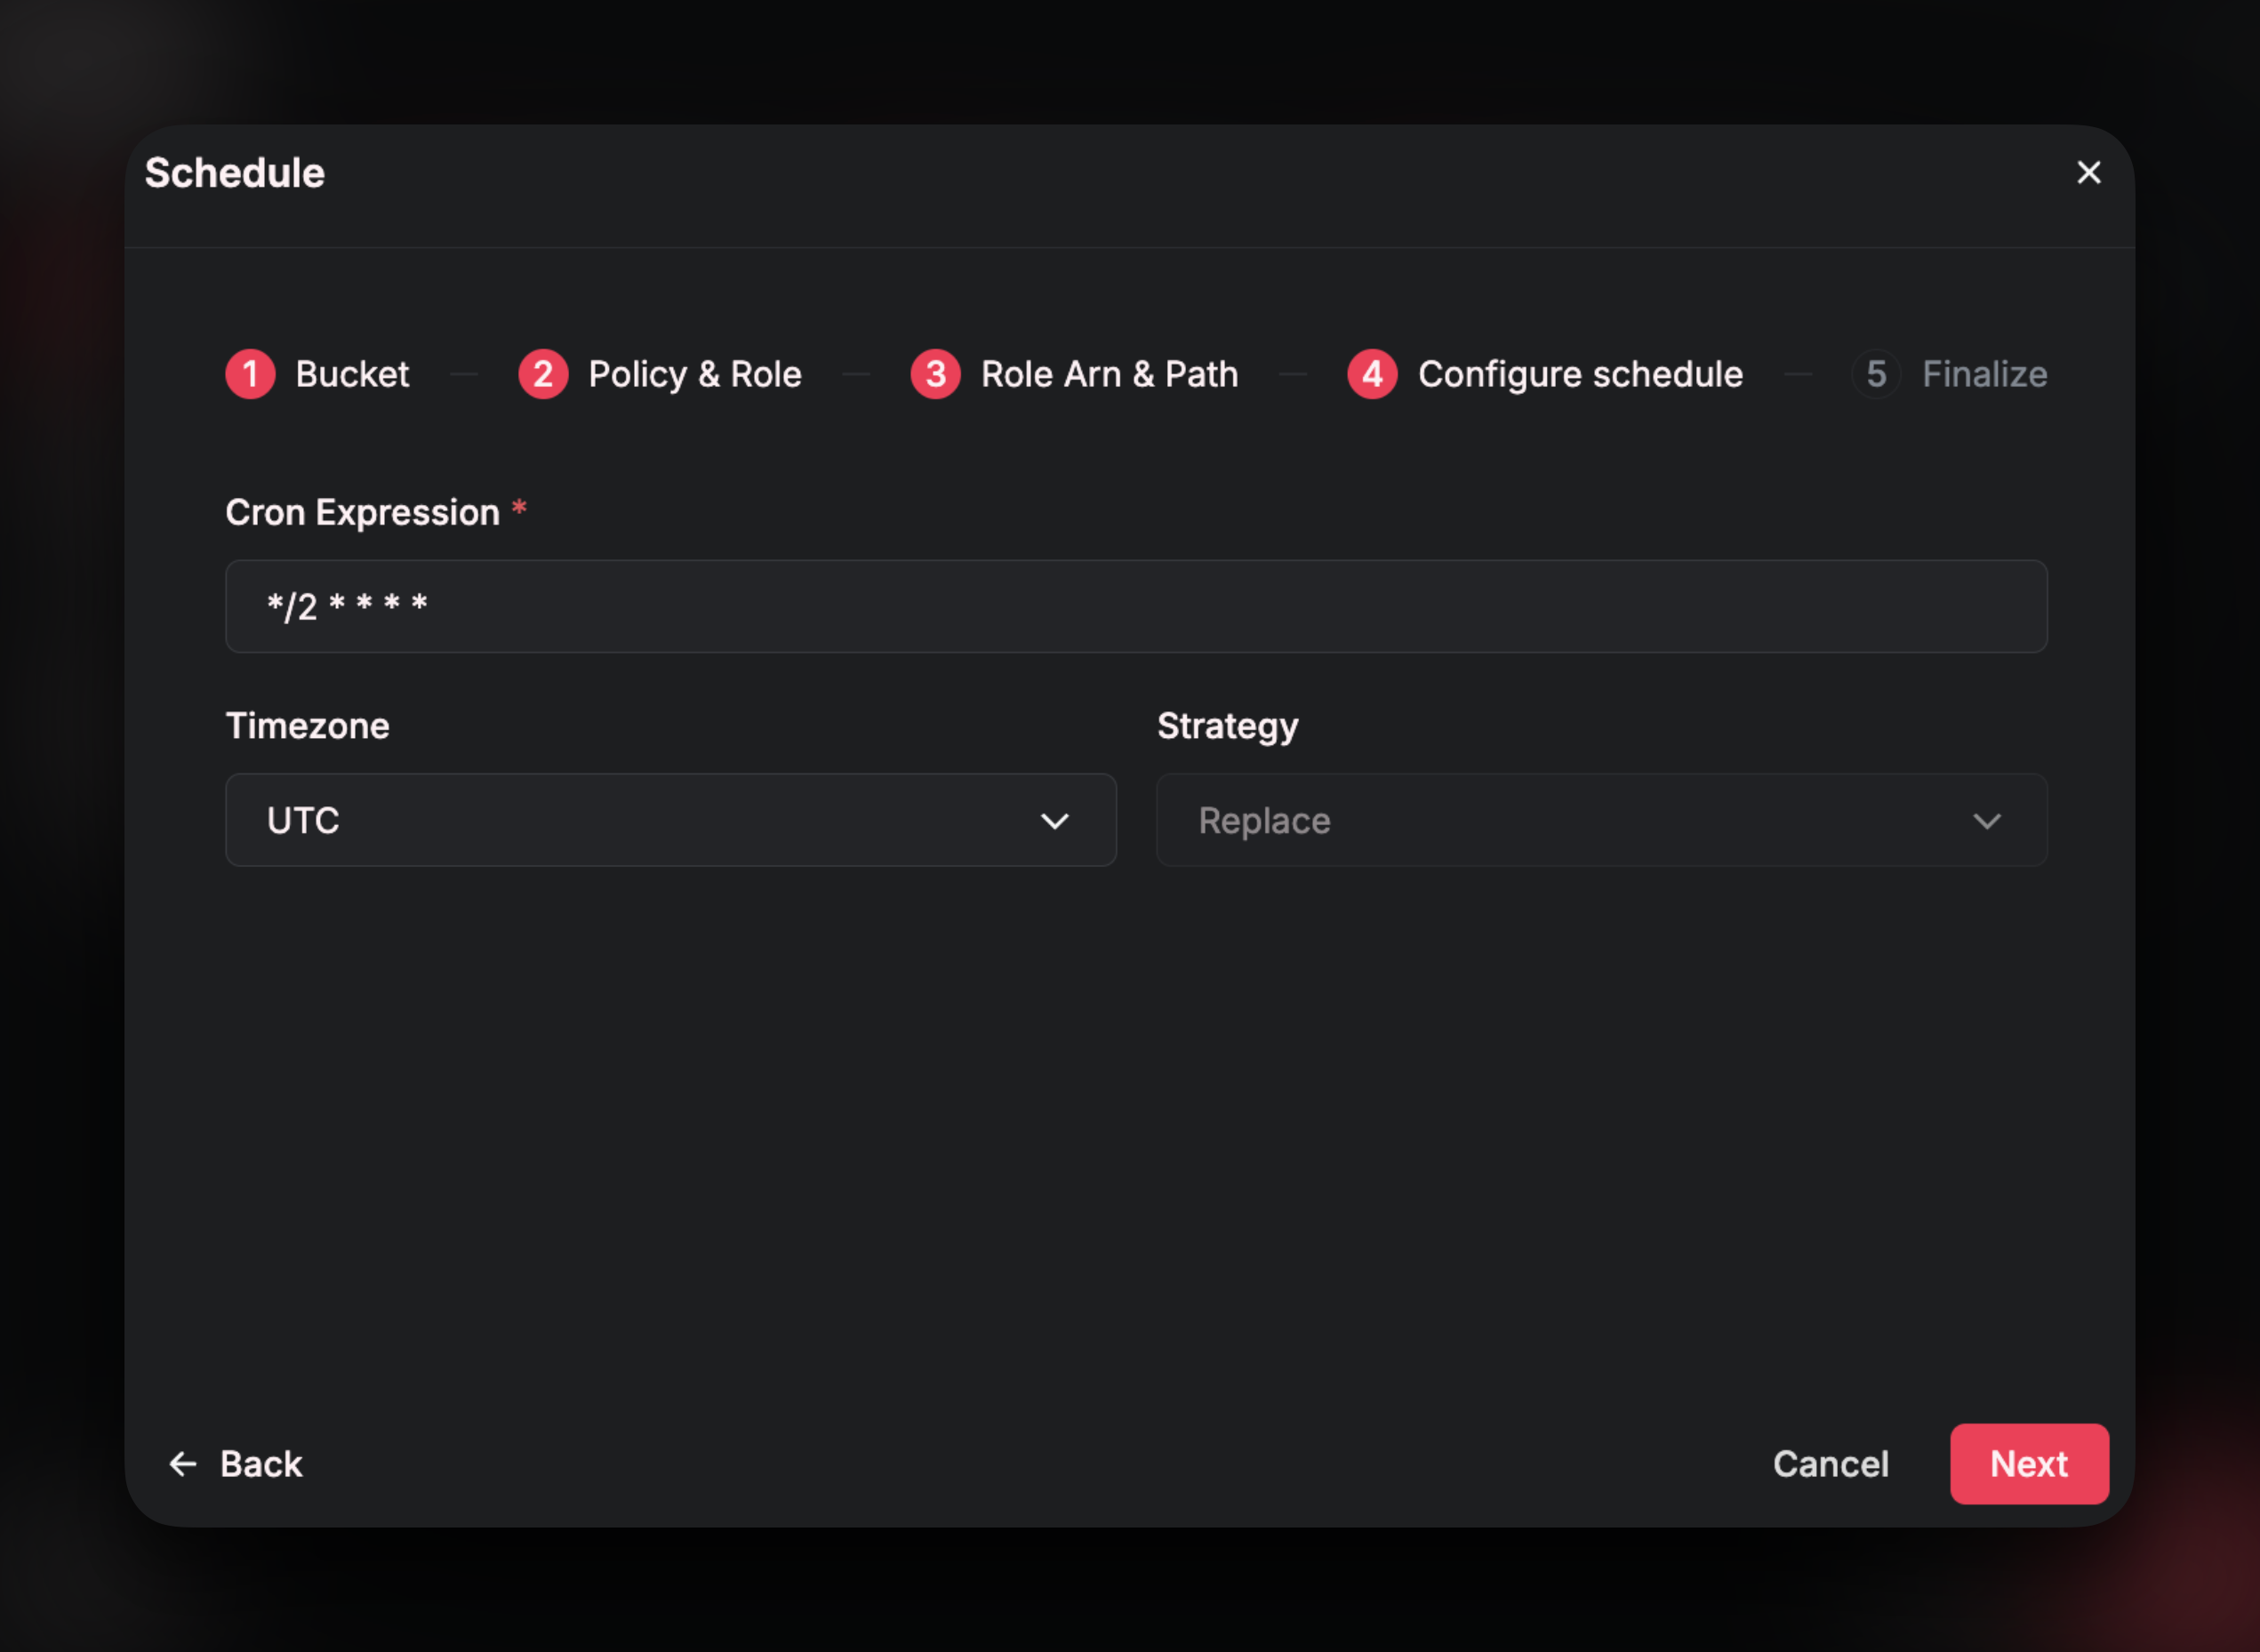 Set the refresh schedule by writing a cron expression and specifying a timezone.
The
Strategy selection gives you two options: append or replace. Append will take the files in the bucket that match your path and will add that data to any existing rows already present in the Source. Replace will directly overwrite the current rows in the Source with the latest contents in the bucket.\
💡 Tip:
For most use cases involving the S3 connector, theappendstrategy is the recommended choice. A common setup is to upload a new file to the bucket each day, with a time-to-live (TTL) policy configured to automatically remove older files—typically after 7 days. In this scenario, your bucket will always contain the most recent 7 files. By default, Airfold’s append strategy is designed to be idempotent: it will only ingest new files that haven’t previously been processed, or files that have been modified. This ensures that each scheduled sync pulls in only the latest data while safely ignoring files that have already been ingested, keeping your Source accurate and avoiding duplication.
Finalize
On the final step, you’ll name your new Source and define its schema.
💡 Tip:Your new Source will now update on the schedule you defined, and will appear under the Sources tab in your workspace.
It’s worth spending some time on this section as both the schema and table settings cannot be changed once the table is created. Choosing optimal data types and table settings (like theprimary key,order by, andengine) are crucial steps in Airfold for ensuring that your queries run with low latency. If you wish to change data types or table settings, you will have to drop the source, recreate the table with the new settings, and ingest your data again. This could be a potentially costly backfill, especially if you have a large dataset, so it’s important to ensure correctness before proceeding.