What this connector is
This connector is similar to the S3 Airfold Connector but includes the additional, precursor stage of piping data from your Snowflake warehouse through to an S3 bucket. If the data that you wish to sync into Airfold is already in an S3 bucket or you already have pipelines built to batch data to S3 on a set cadence, the standard S3 connector is probably the right choice for your project. This connector helps walk you through the process of unloading Snowflake data into S3 by using a Snowflake external stage.When to Use This Connector
The standard Snowflake connector is a great way to sync small amounts of data from Snowflake to Airfold. If however, you are moving lots of data (hundreds of millions of rows), the Snowflake connector can become expensive to run, especially at high frequency cadences. Under the hood, when the Snowflake connector updates data into your Airfold Source, it is essentially running a query like this:- What data gets exported (e.g., filtering for recent rows)
- How it’s structured (e.g., partitioning by date)
- When it runs (e.g., daily or hourly via scheduled Snowflake Tasks)
- You’re syncing large datasets regularly
- You want to minimize Snowflake warehouse usage
Create Source
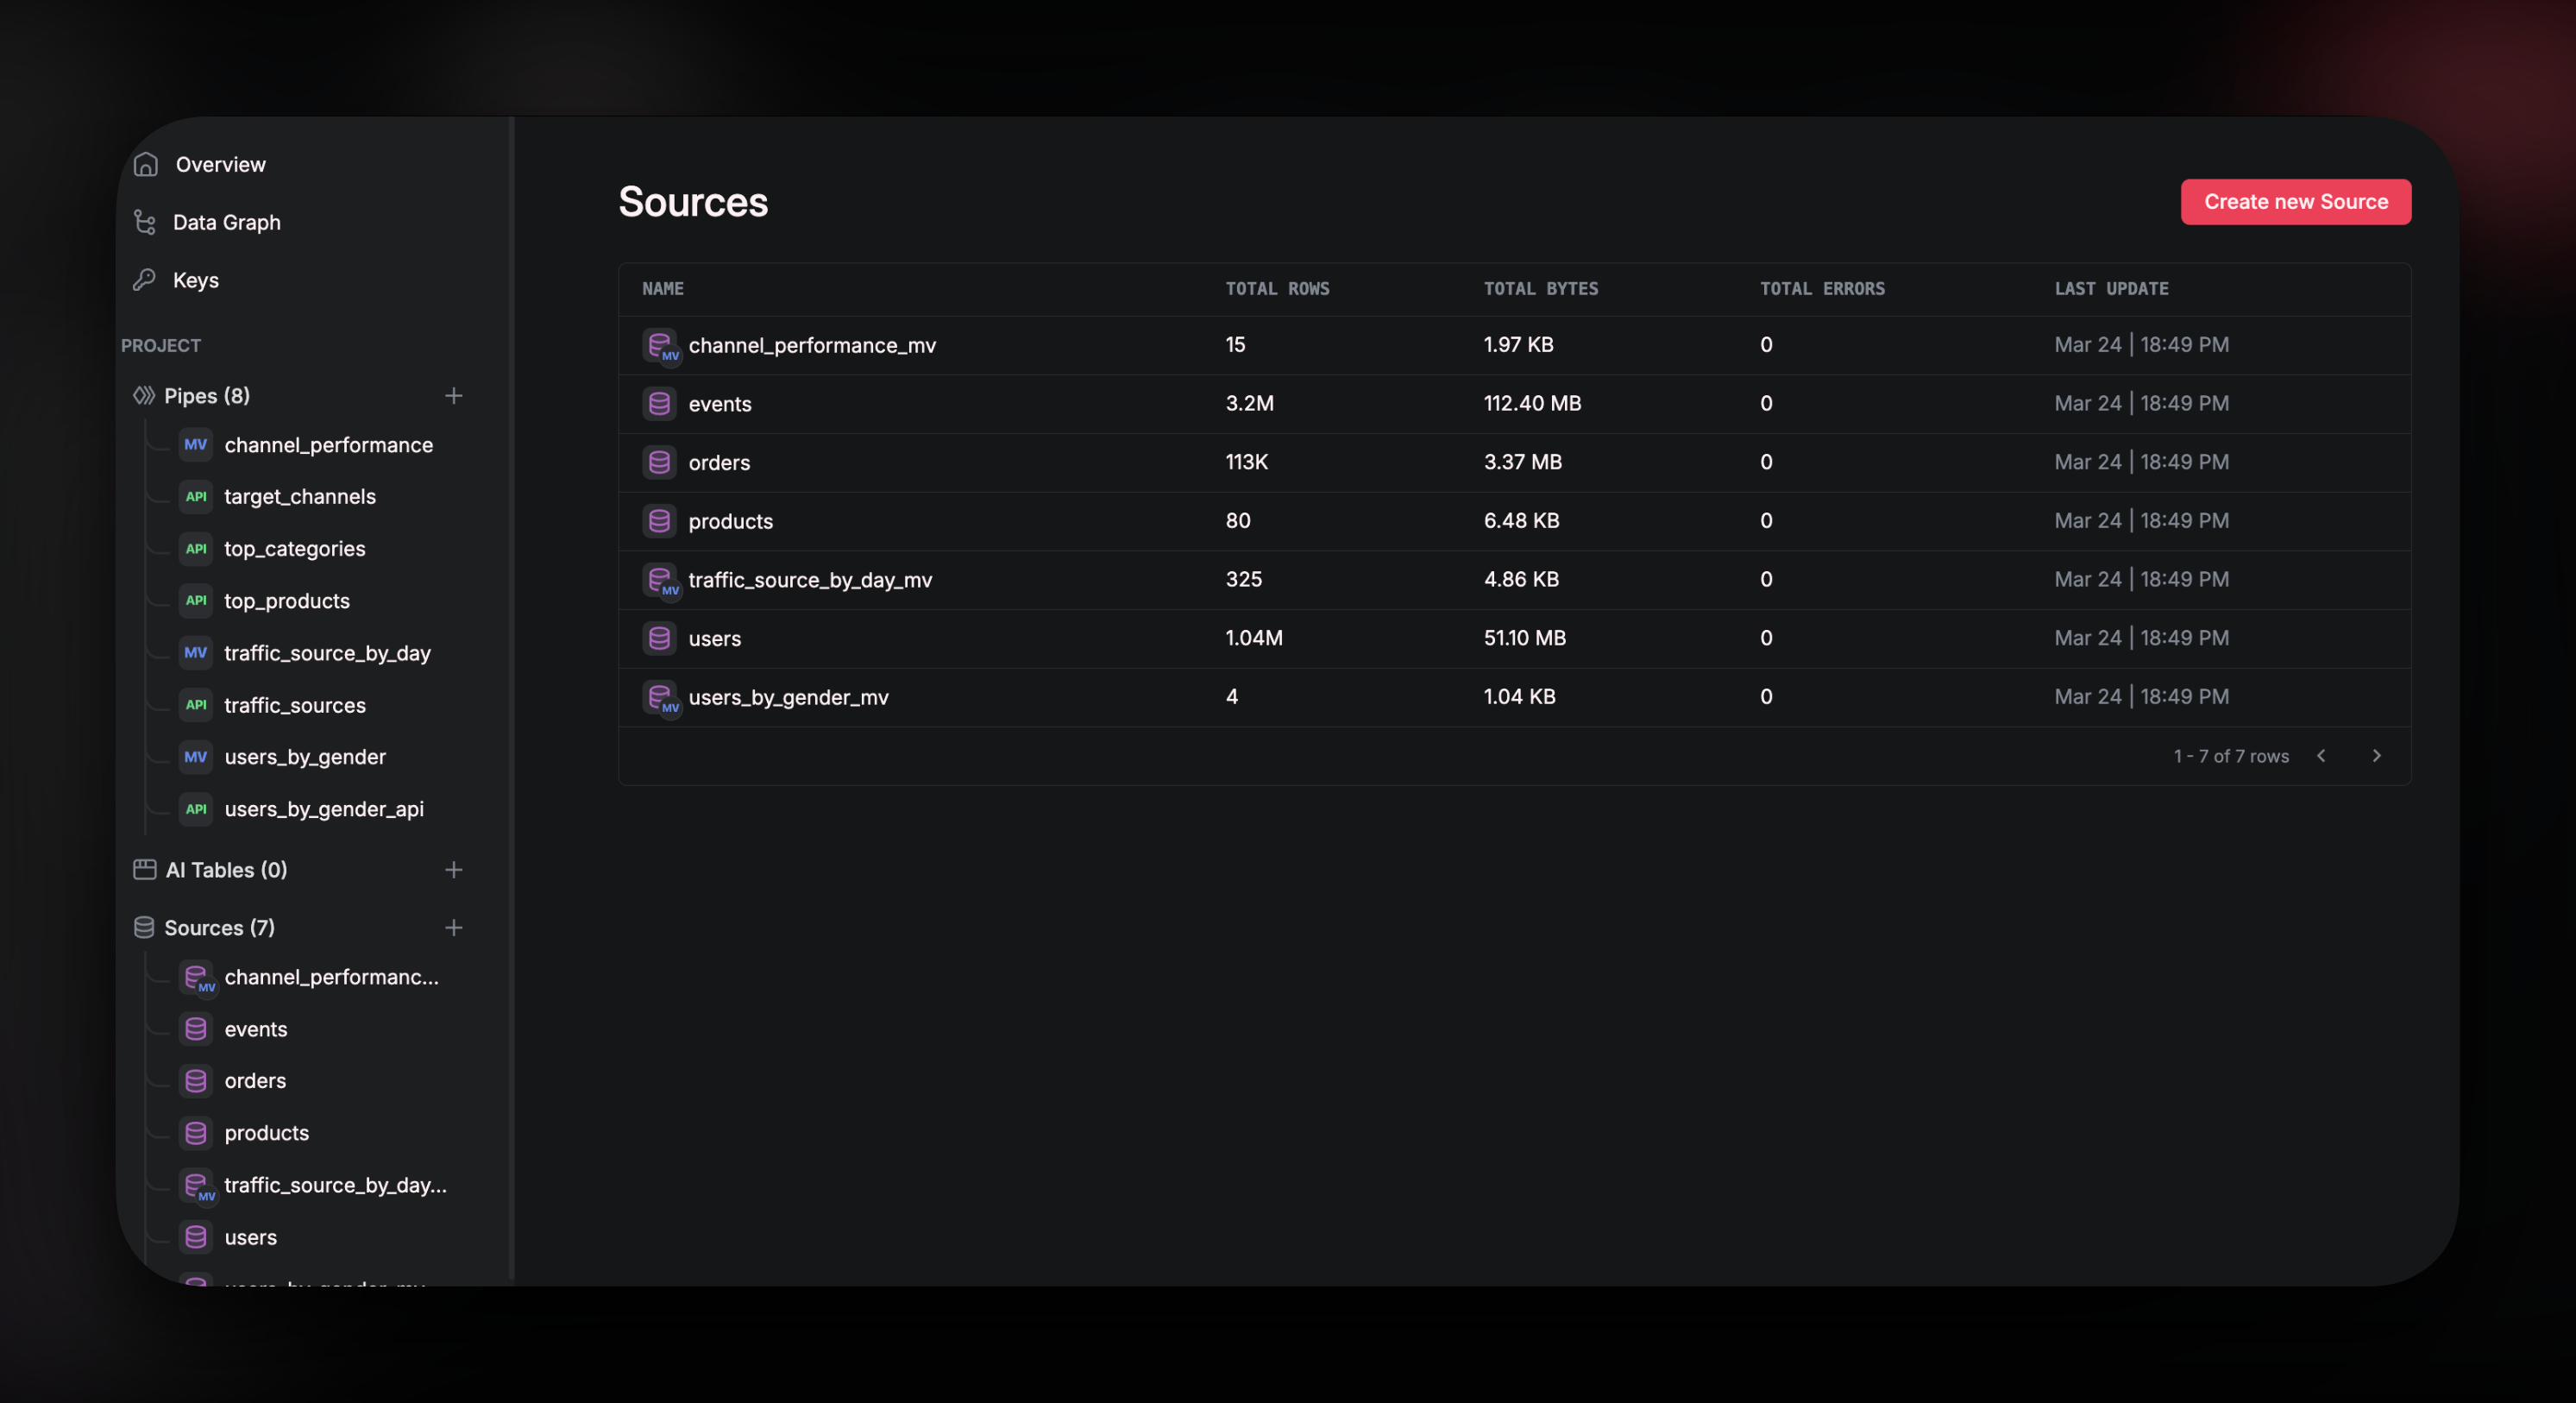
To get started with this connector, navigate toSources and click on Create new Source. Alternatively, click on the + next to Sources in the left-hand tool bar.
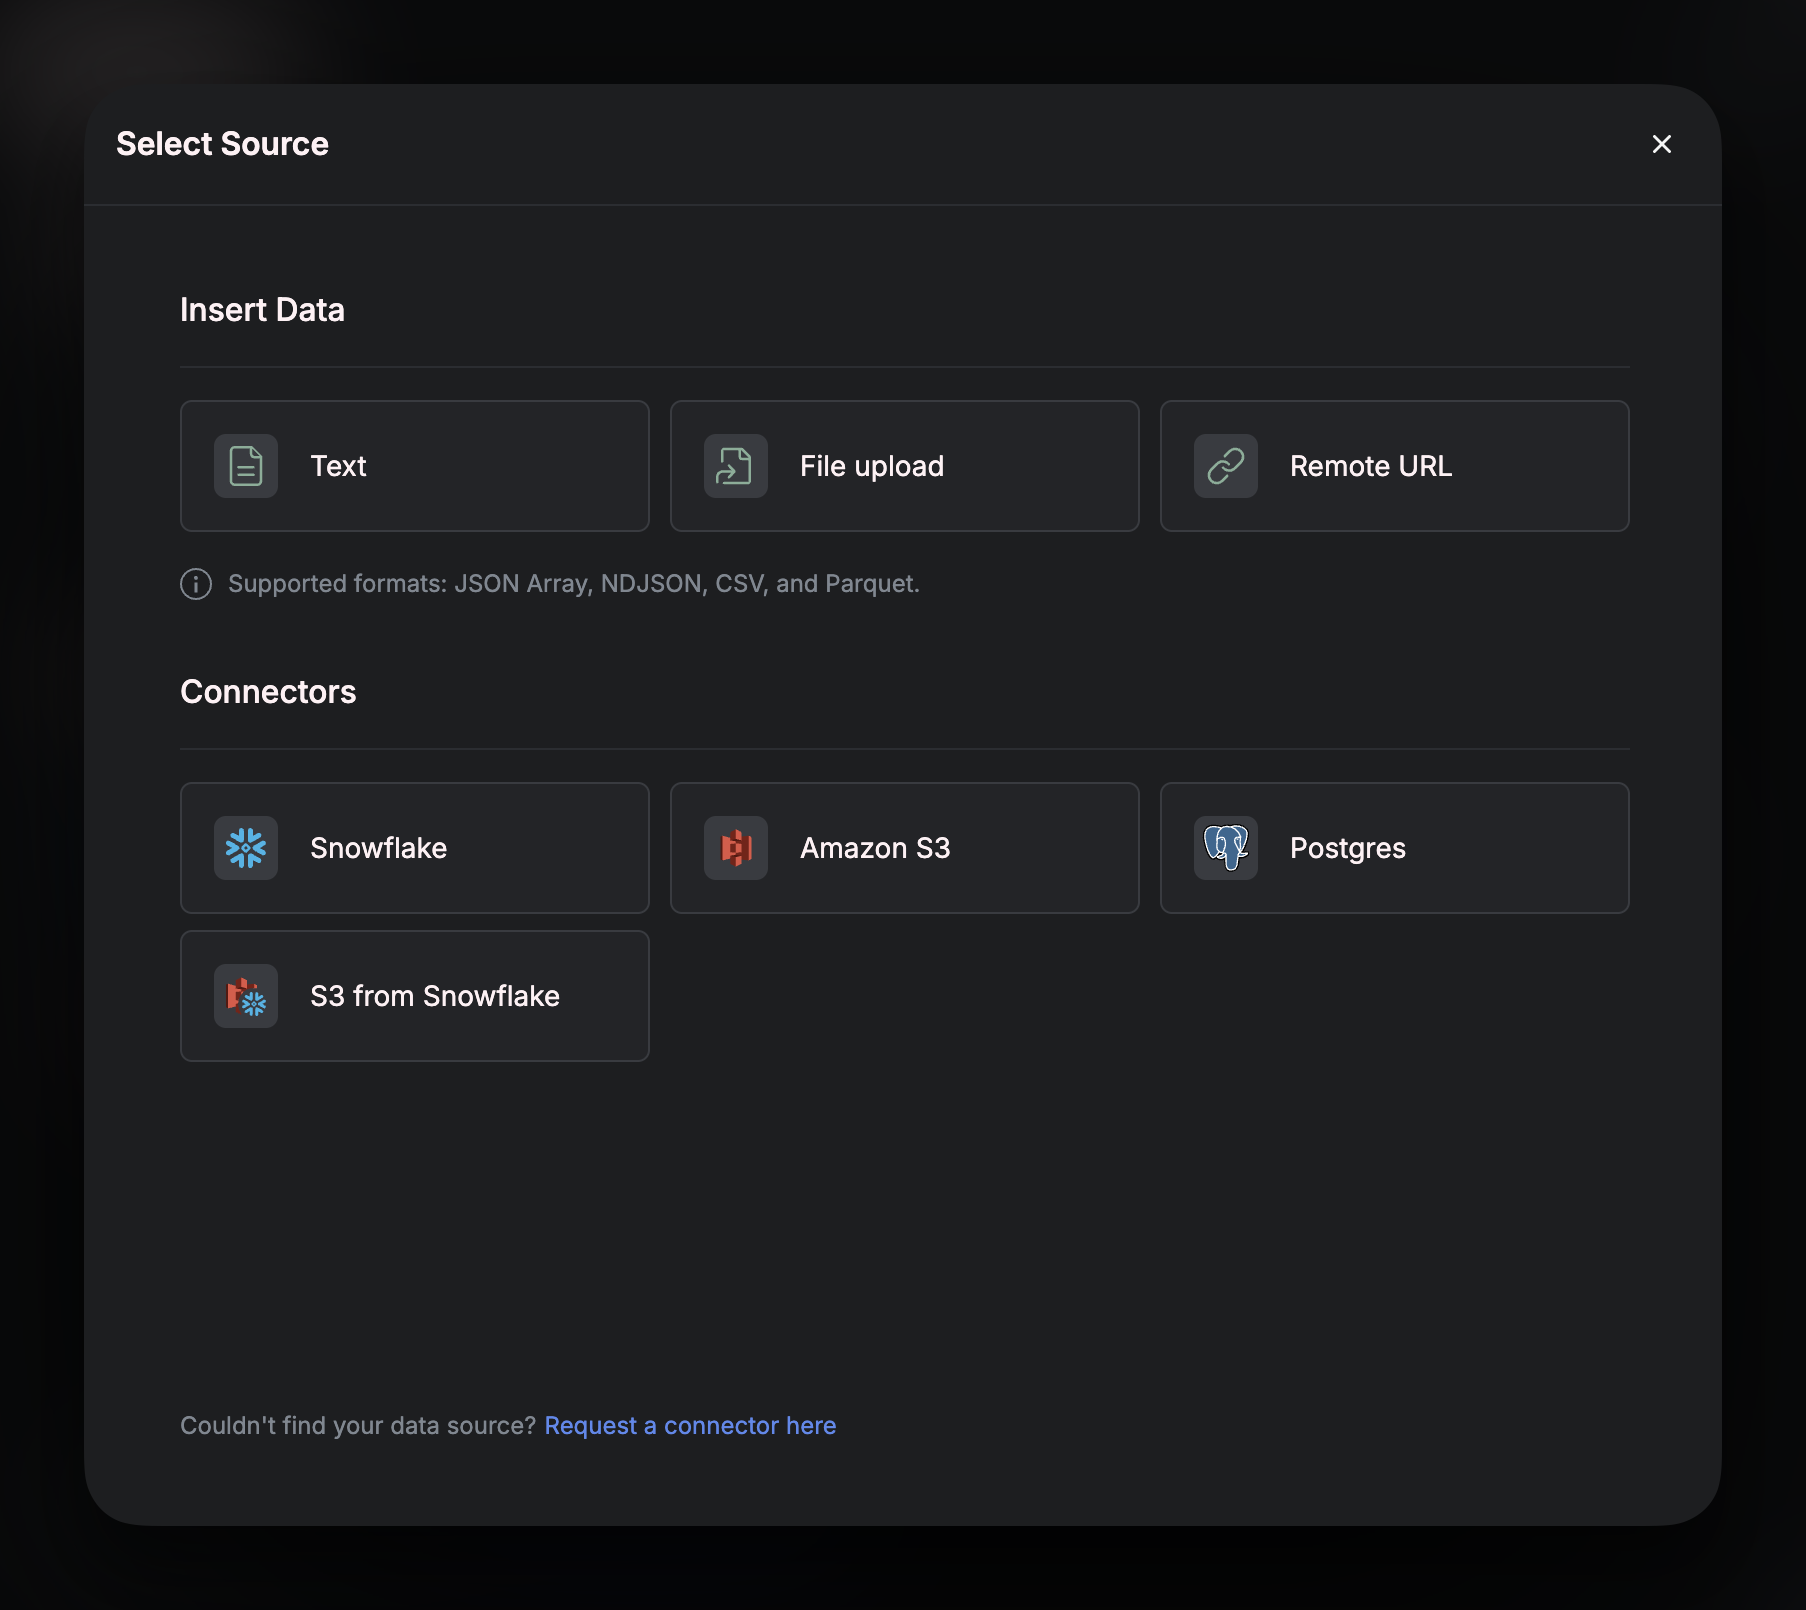
 In the pop-up window, click on
 S3 from Snowflake

Unload Table to S3
Follow the steps in the setup wizard. By the end of step 11. you will have:- Created a new AWS
Userand assigned it the necessary permissions. - Generated an
Access Keyand aSecret Access Keyfor the new User. - Created a new S3 bucket for your Snowflake data to land into.
To create the stage, you will need to open a worksheet in your Snowflake account, select the database that you want to sync data from, then run the following SQL query:
< >
<stage_name>is what you will name your stage.<bucket-name>is the name that you gave the bucket that you just created in AWS.<path>is the directory (also called a prefix) in your bucket where you want the data to land. If you don’t specify a path, Snowflake will write to the root of the bucket by default.<key-id>and<secret-id>are the values for the keys that you generated in steps 7 - 10.
Automating Daily Batches with a Snowflake Task
If you have completed all the steps so far, you will have successfully backfilled your entire table into S3. Next you can automate this process by creating a Snowflake Task. This will allow you to batch and export data to your S3 bucket at a desired cadence — without any manual intervention. The example below sets up a task that runs once a day and copies only the previous day’s records into your stage. It assumes your table has a timestamp column (like created_at) that you can use to filter new data.s3://<bucket-name>/<path>/export_date_=2025-05-29/
Once created, you’ll need to activate the task:
The This ensures you capture all rows from the previous calendar day in UTC (from 00:00 to 23:59:59.999).
Using this pattern helps avoid accidentally missing rows due to time zone differences or late-arriving records — and gives you a consistent, repeatable window for daily exports.
WHERE clause uses:
