Creation
Create Source
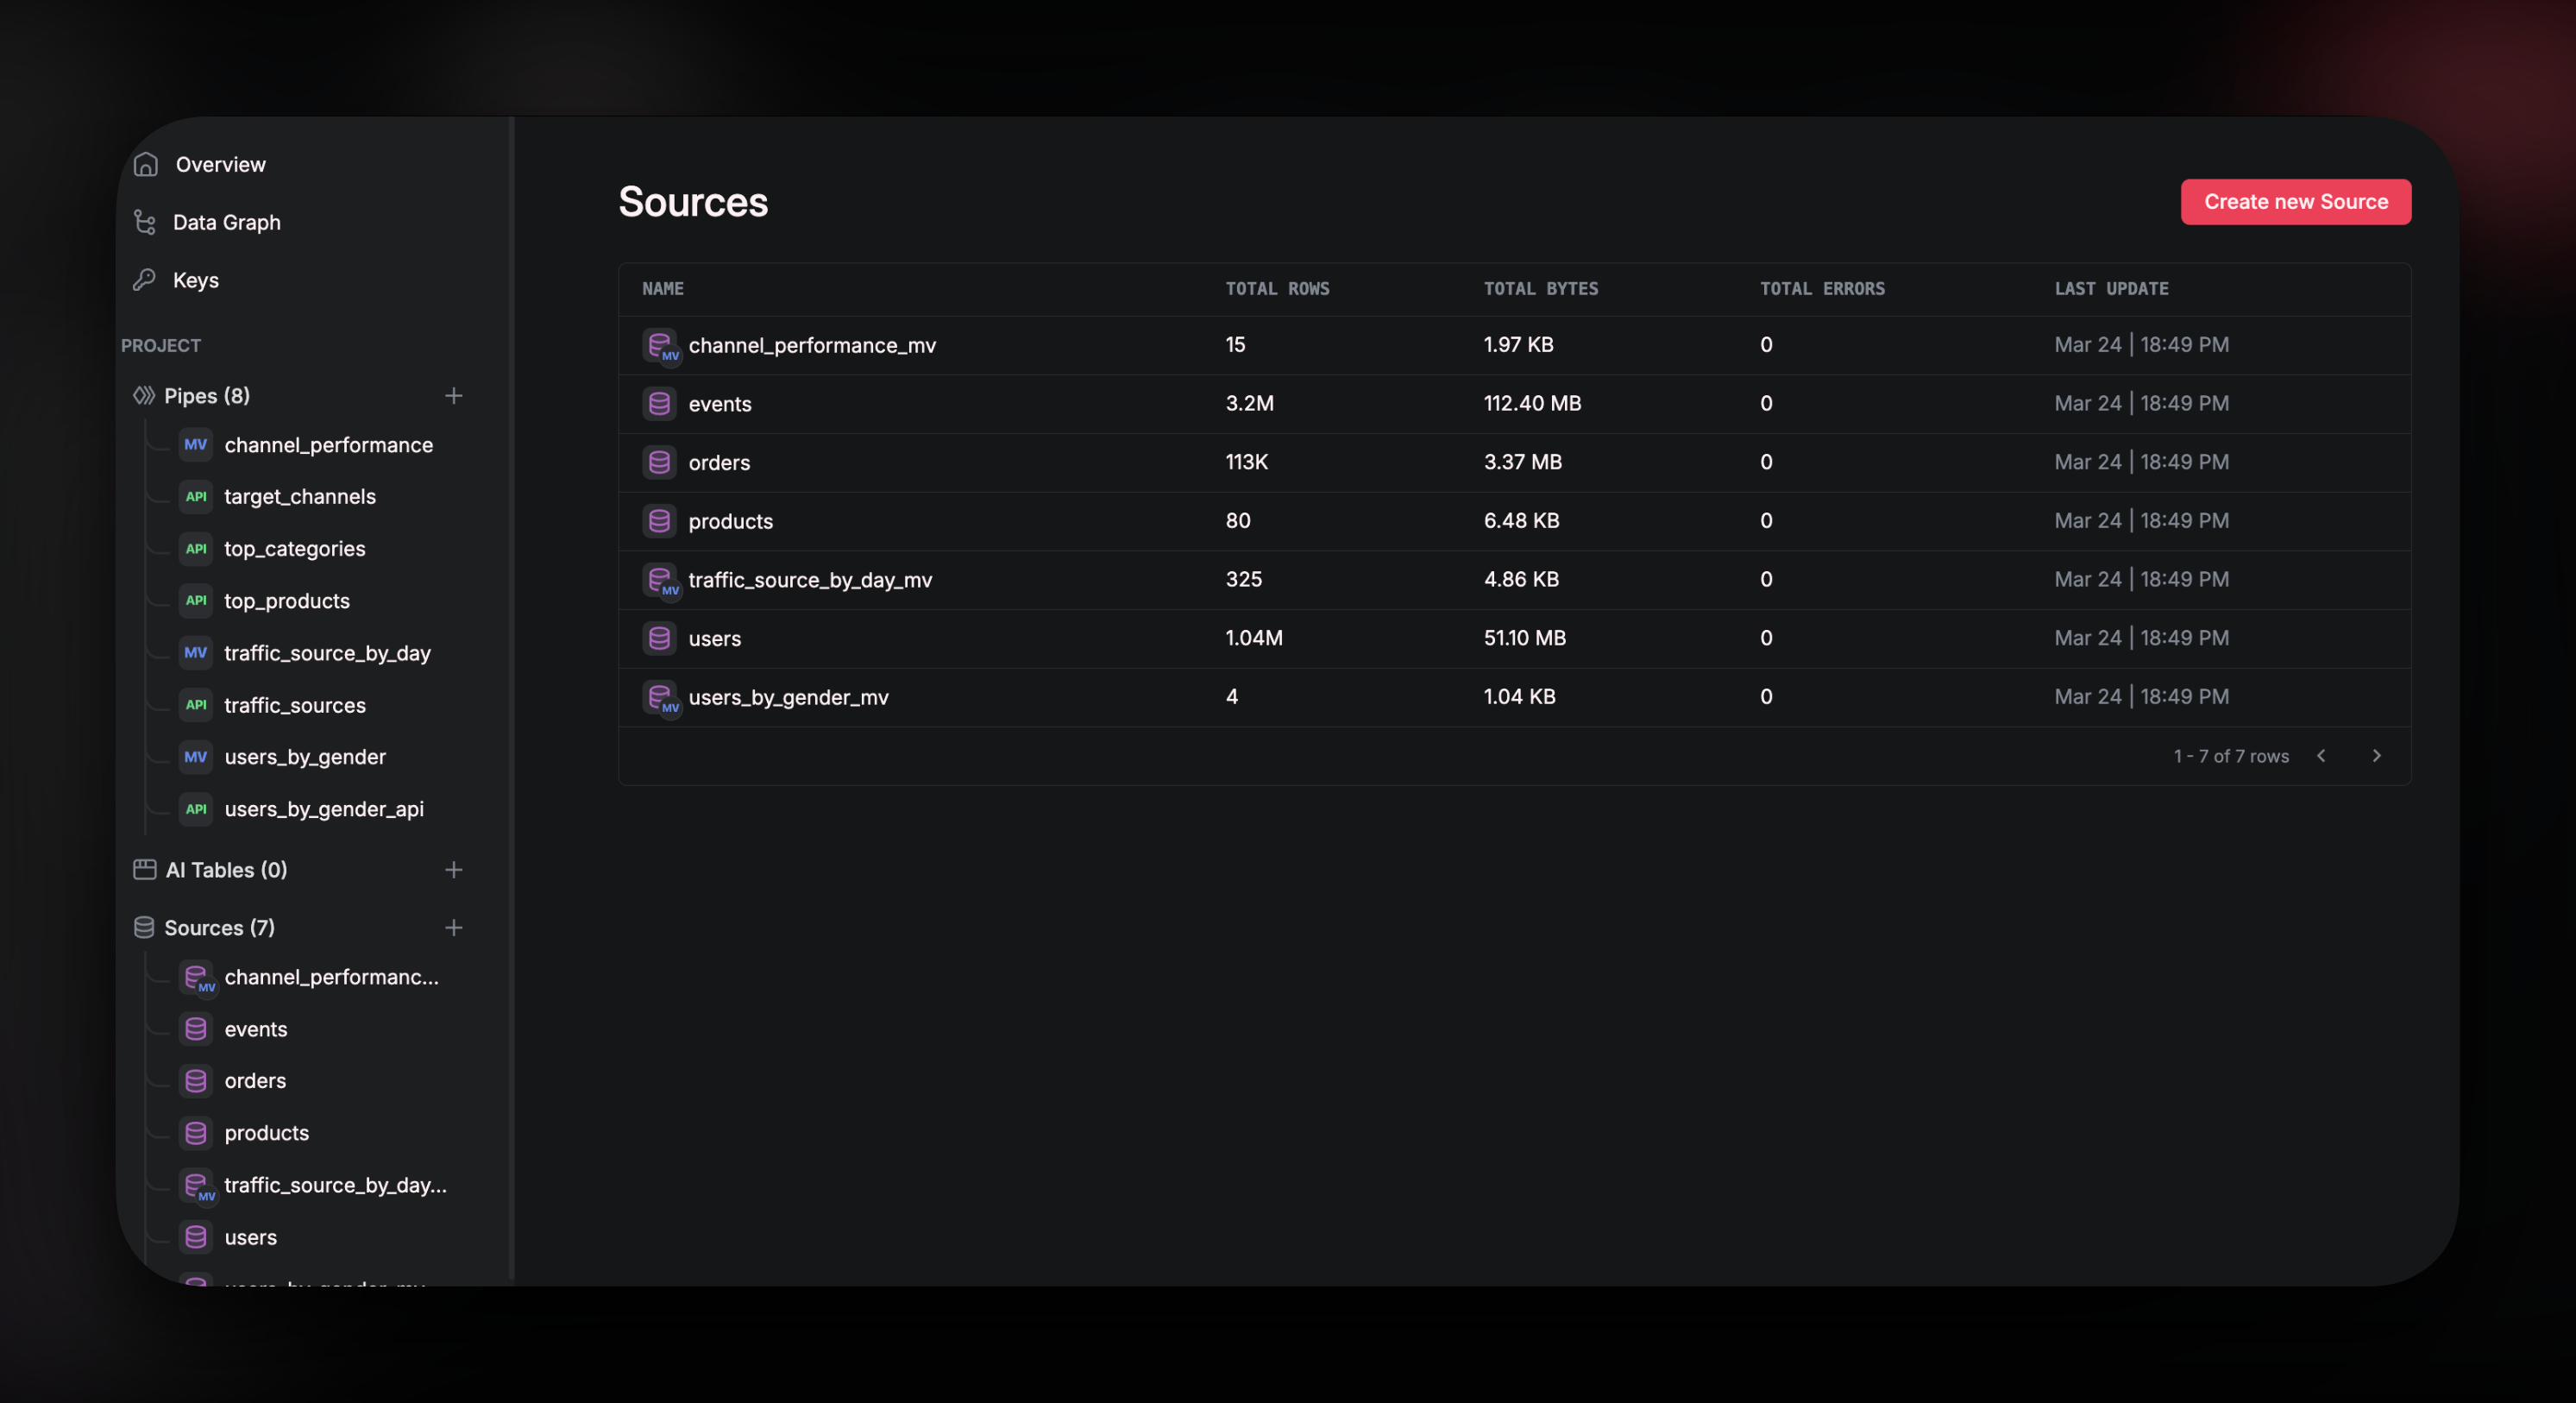
Navigate toSources and click on Create new Source. Alternatively, click on the + next to Sources in the left-hand tool bar.
 In the popup window, click on
 Snowflake

Connection Details
The next window in the pop up will ask you for some information from your Snowflake account.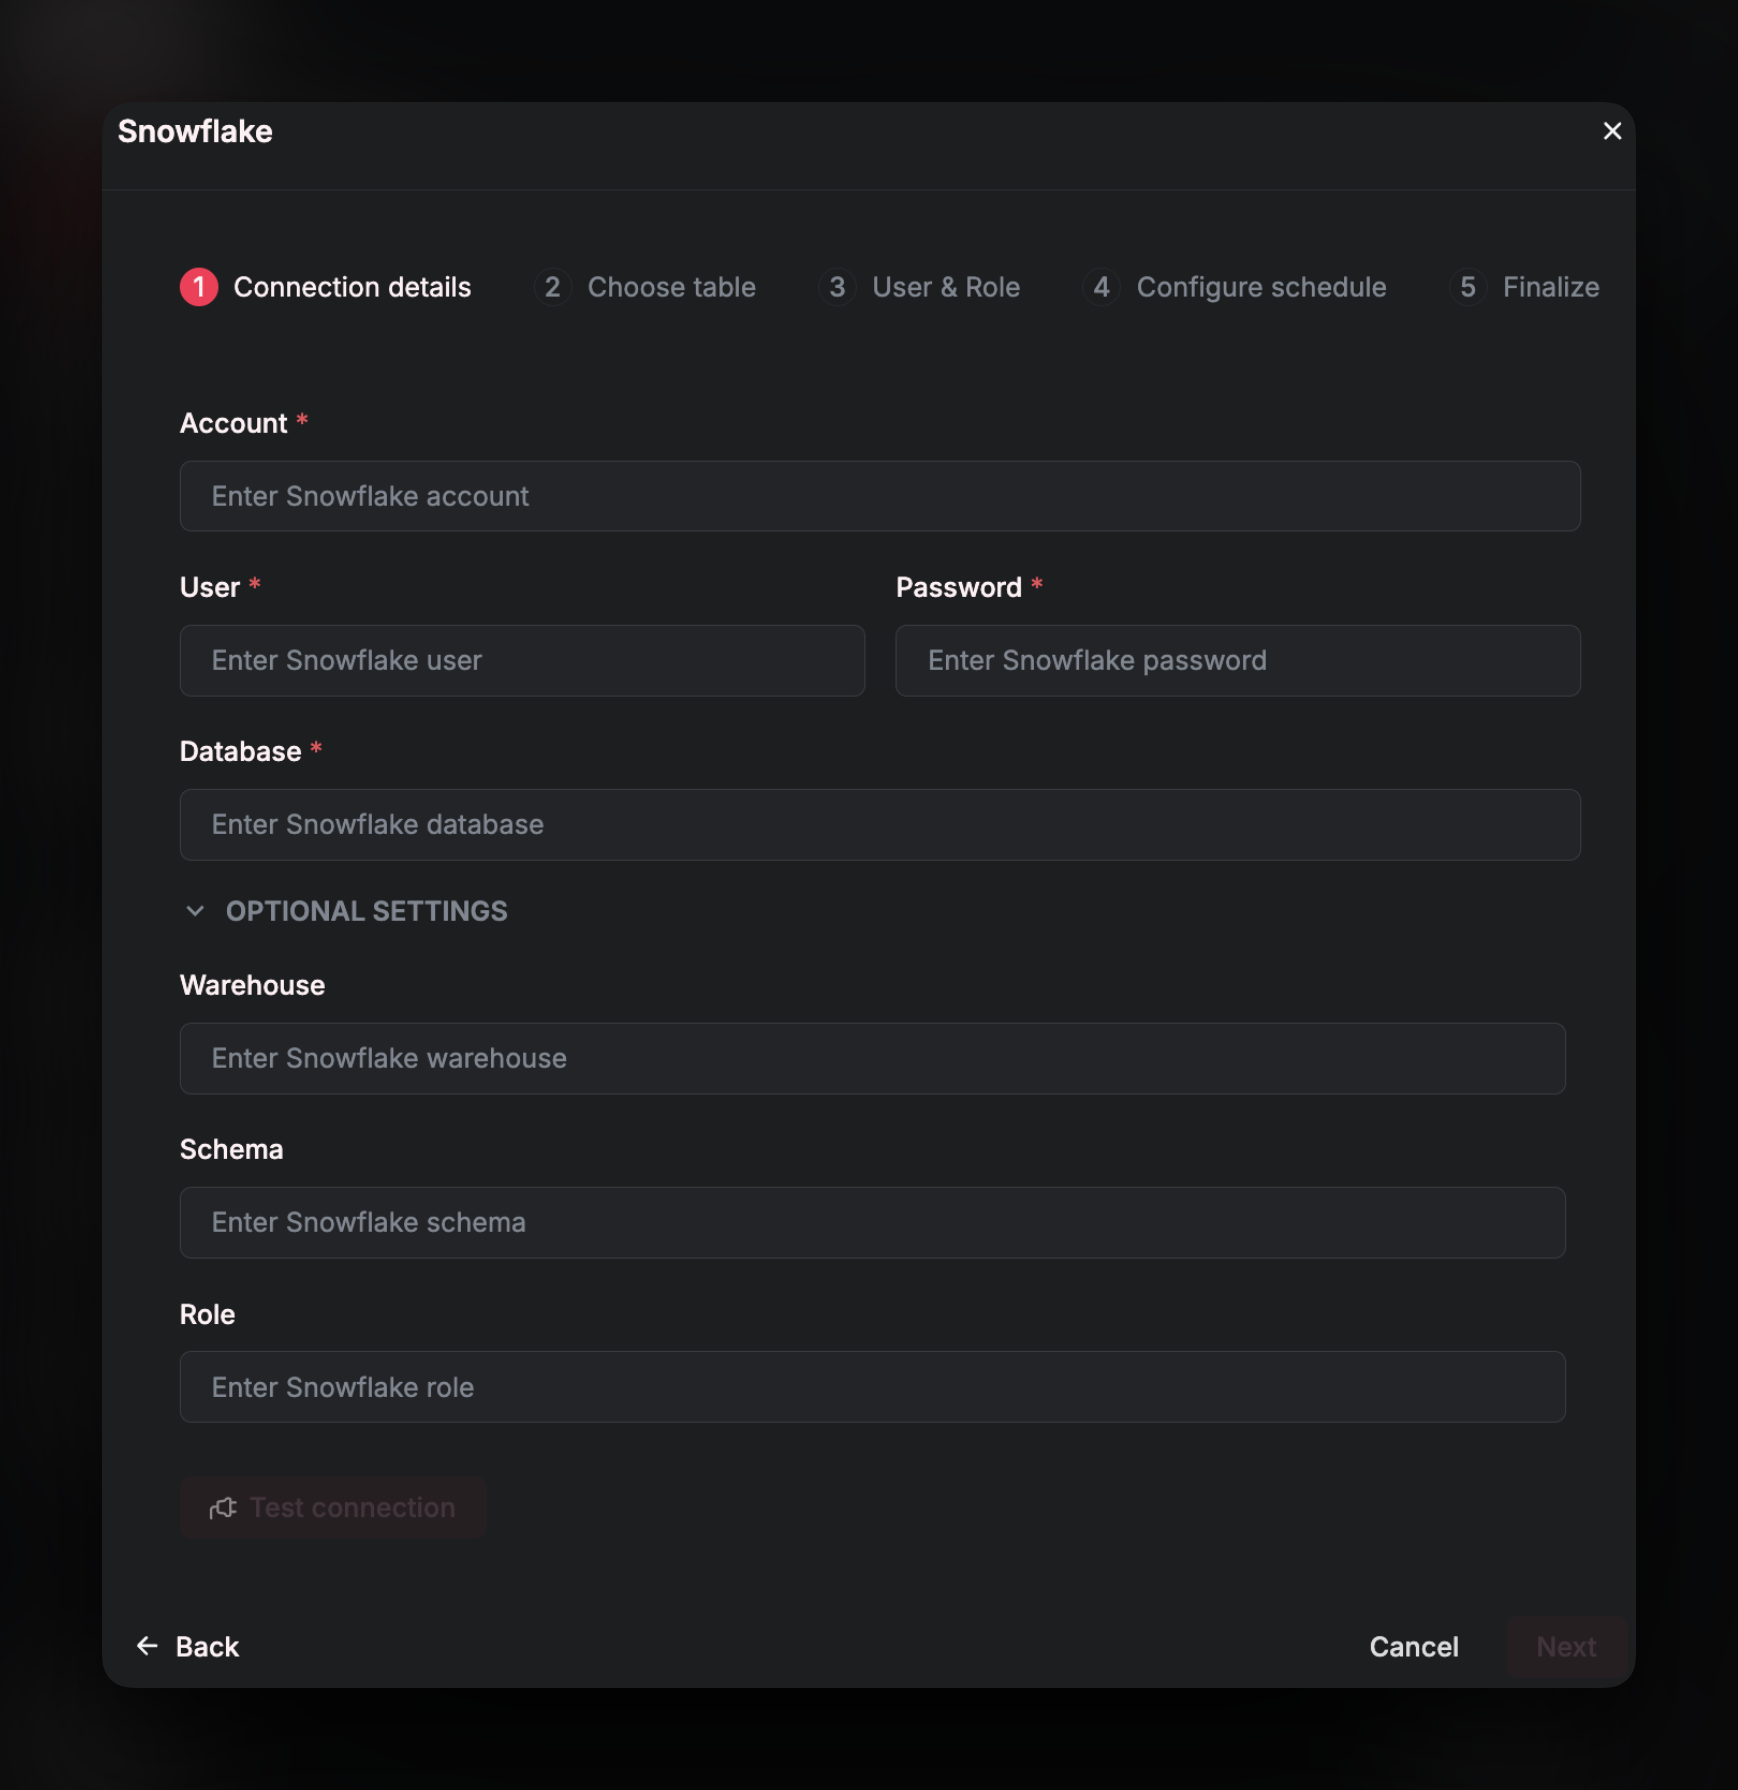 Account
The
Account
The Account field requires the following format:
<your_account_id>.<your-snowflake-region>.<your_cloud_provider>
(e.g., lh10221.us-central1.gcp)
Run the following query in a Snowflake SQL worksheet to generate the correct account string:
 Then the correct value for
 Account would be `gu81828.us-east-2.aws’
Username
This is the username that you use to log in to your Snowflake account. You can obtain this by running the following query:
COMPUTE_WH
PUBLIC

Select Table
Select the table you wish to add from your database. A Snowflake connection can only have one table. If you wish to join the data from multiple tables together, you will need to create aSource for each table and then join the data using a downstream Pipe.

User and Role
This section will require you to run administrative queries in your Snowflake account that will create aRole and a User and then grant permissions for those new resources to the database that you are syncing data from.
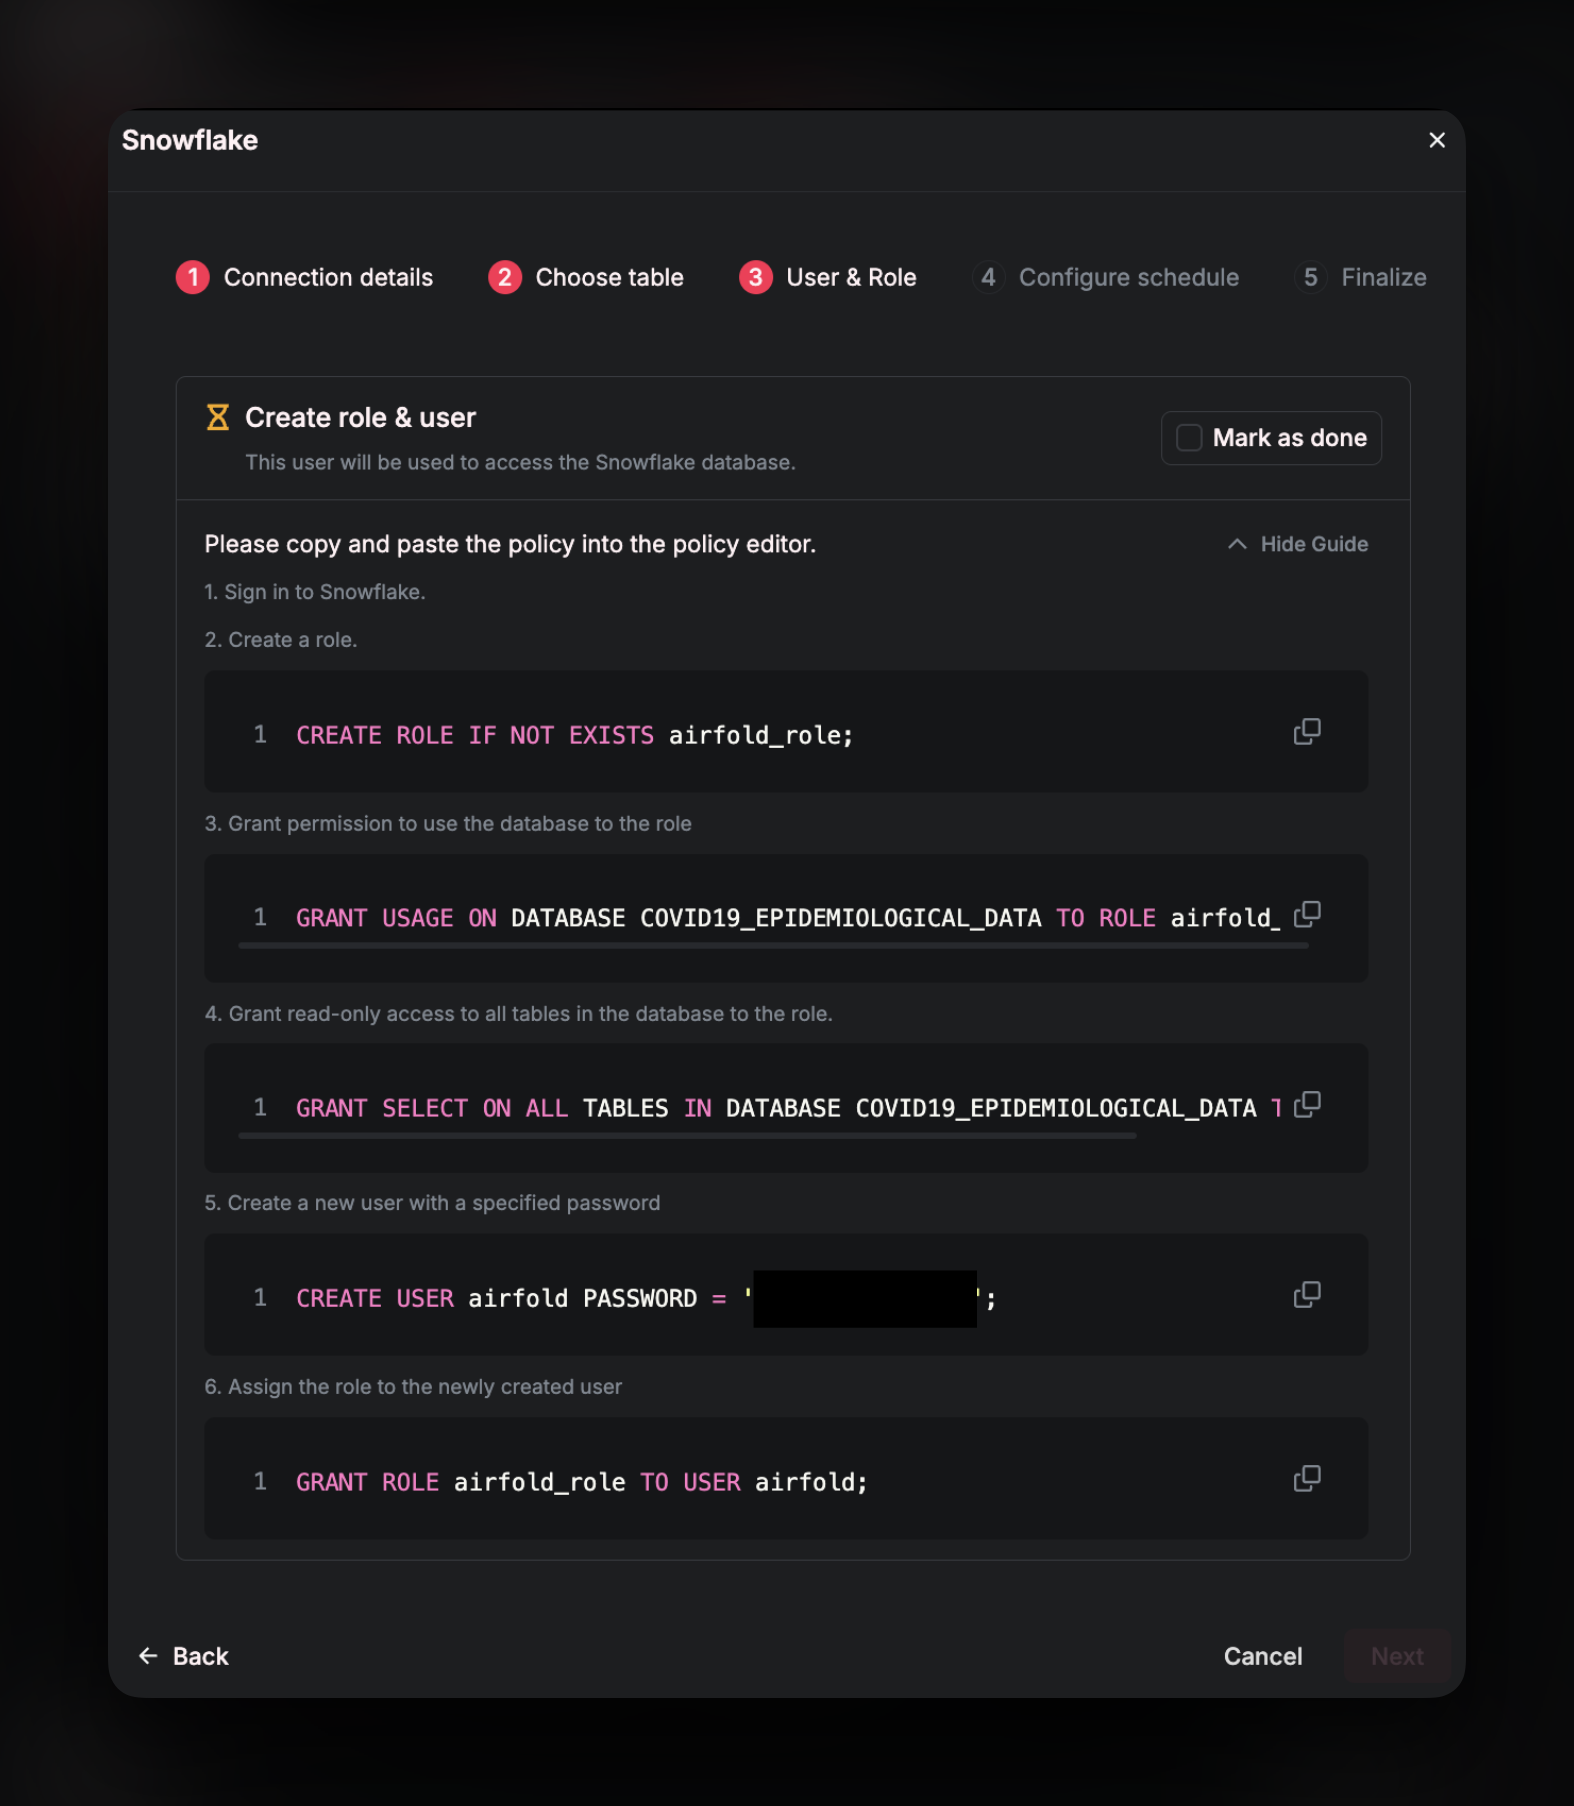 Run these queries one by one in your Snowflake account. Once each query has successfully run, click the
 Mark as Done checkbox and then Next.
Set Up Cron job
Set up automated data updates with a cron expression: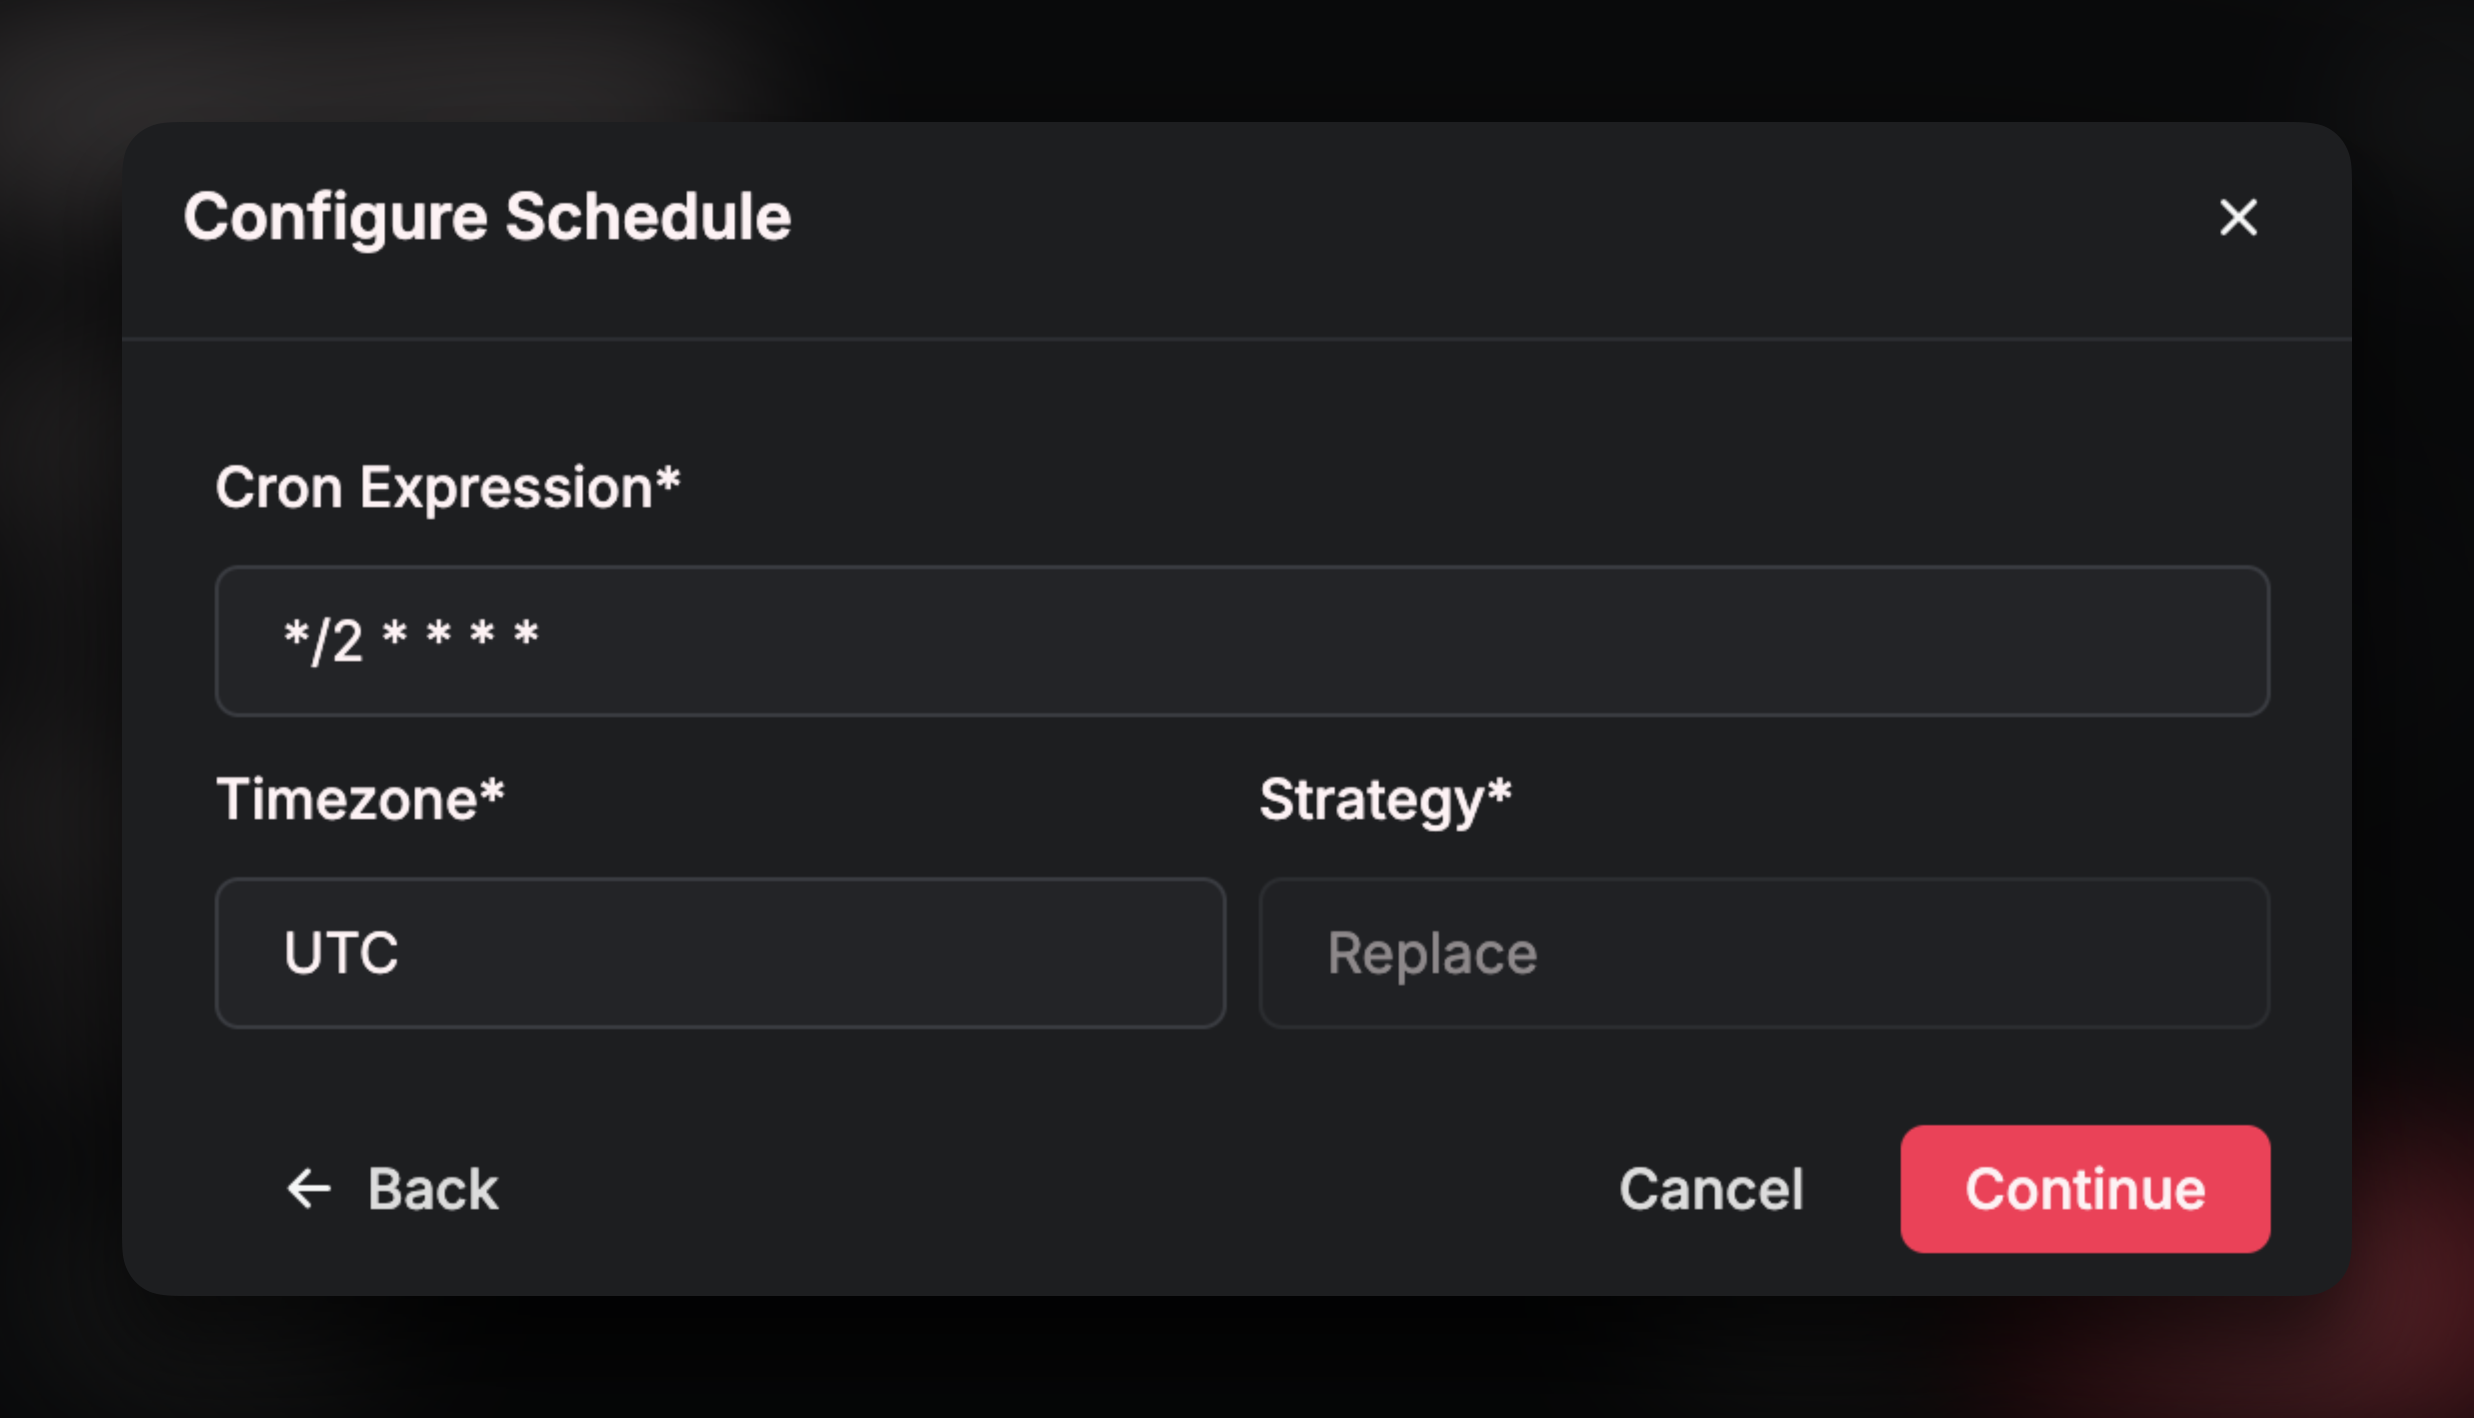
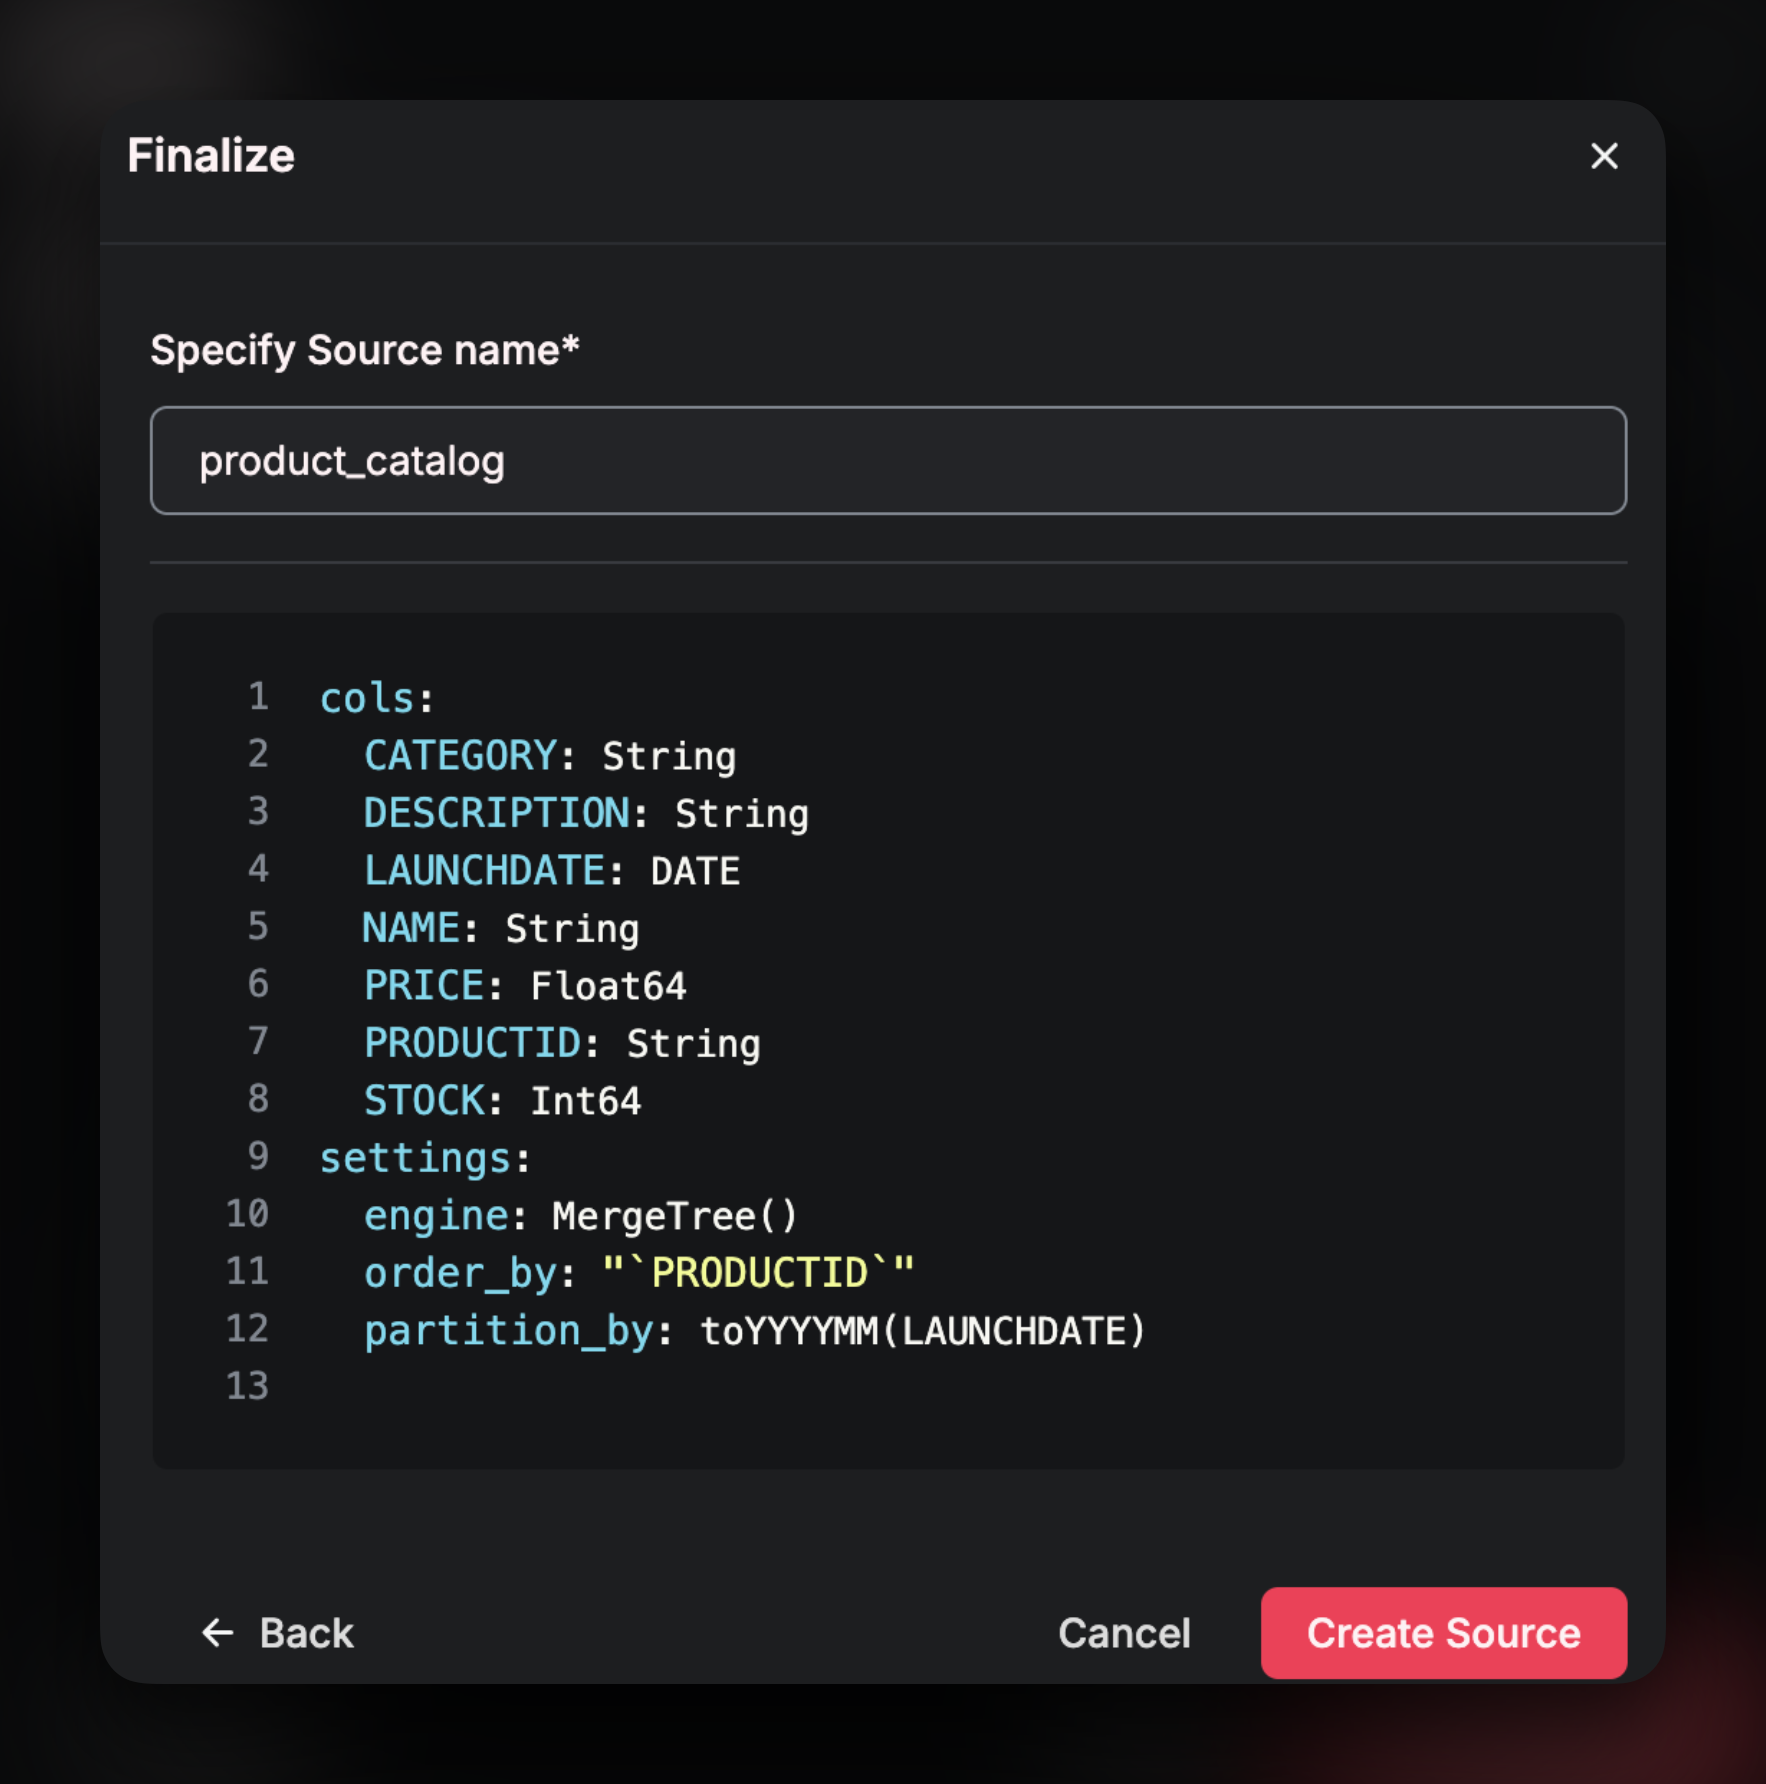
Confirm Schema
Airfold will automatically infer a schema from Snowflake, but you have the opportunity to make any changes. Remember - once a source is created, the table settings cannot be altered. If you wish to alter the table at a later stage, all the data will have to be dropped which could cause issues in your downstream, production APIs. Source settings, such as theEngine type and the Primary Key, are critical for optimal query performance - Take care at this stage to ensure your Source is optimally configured.